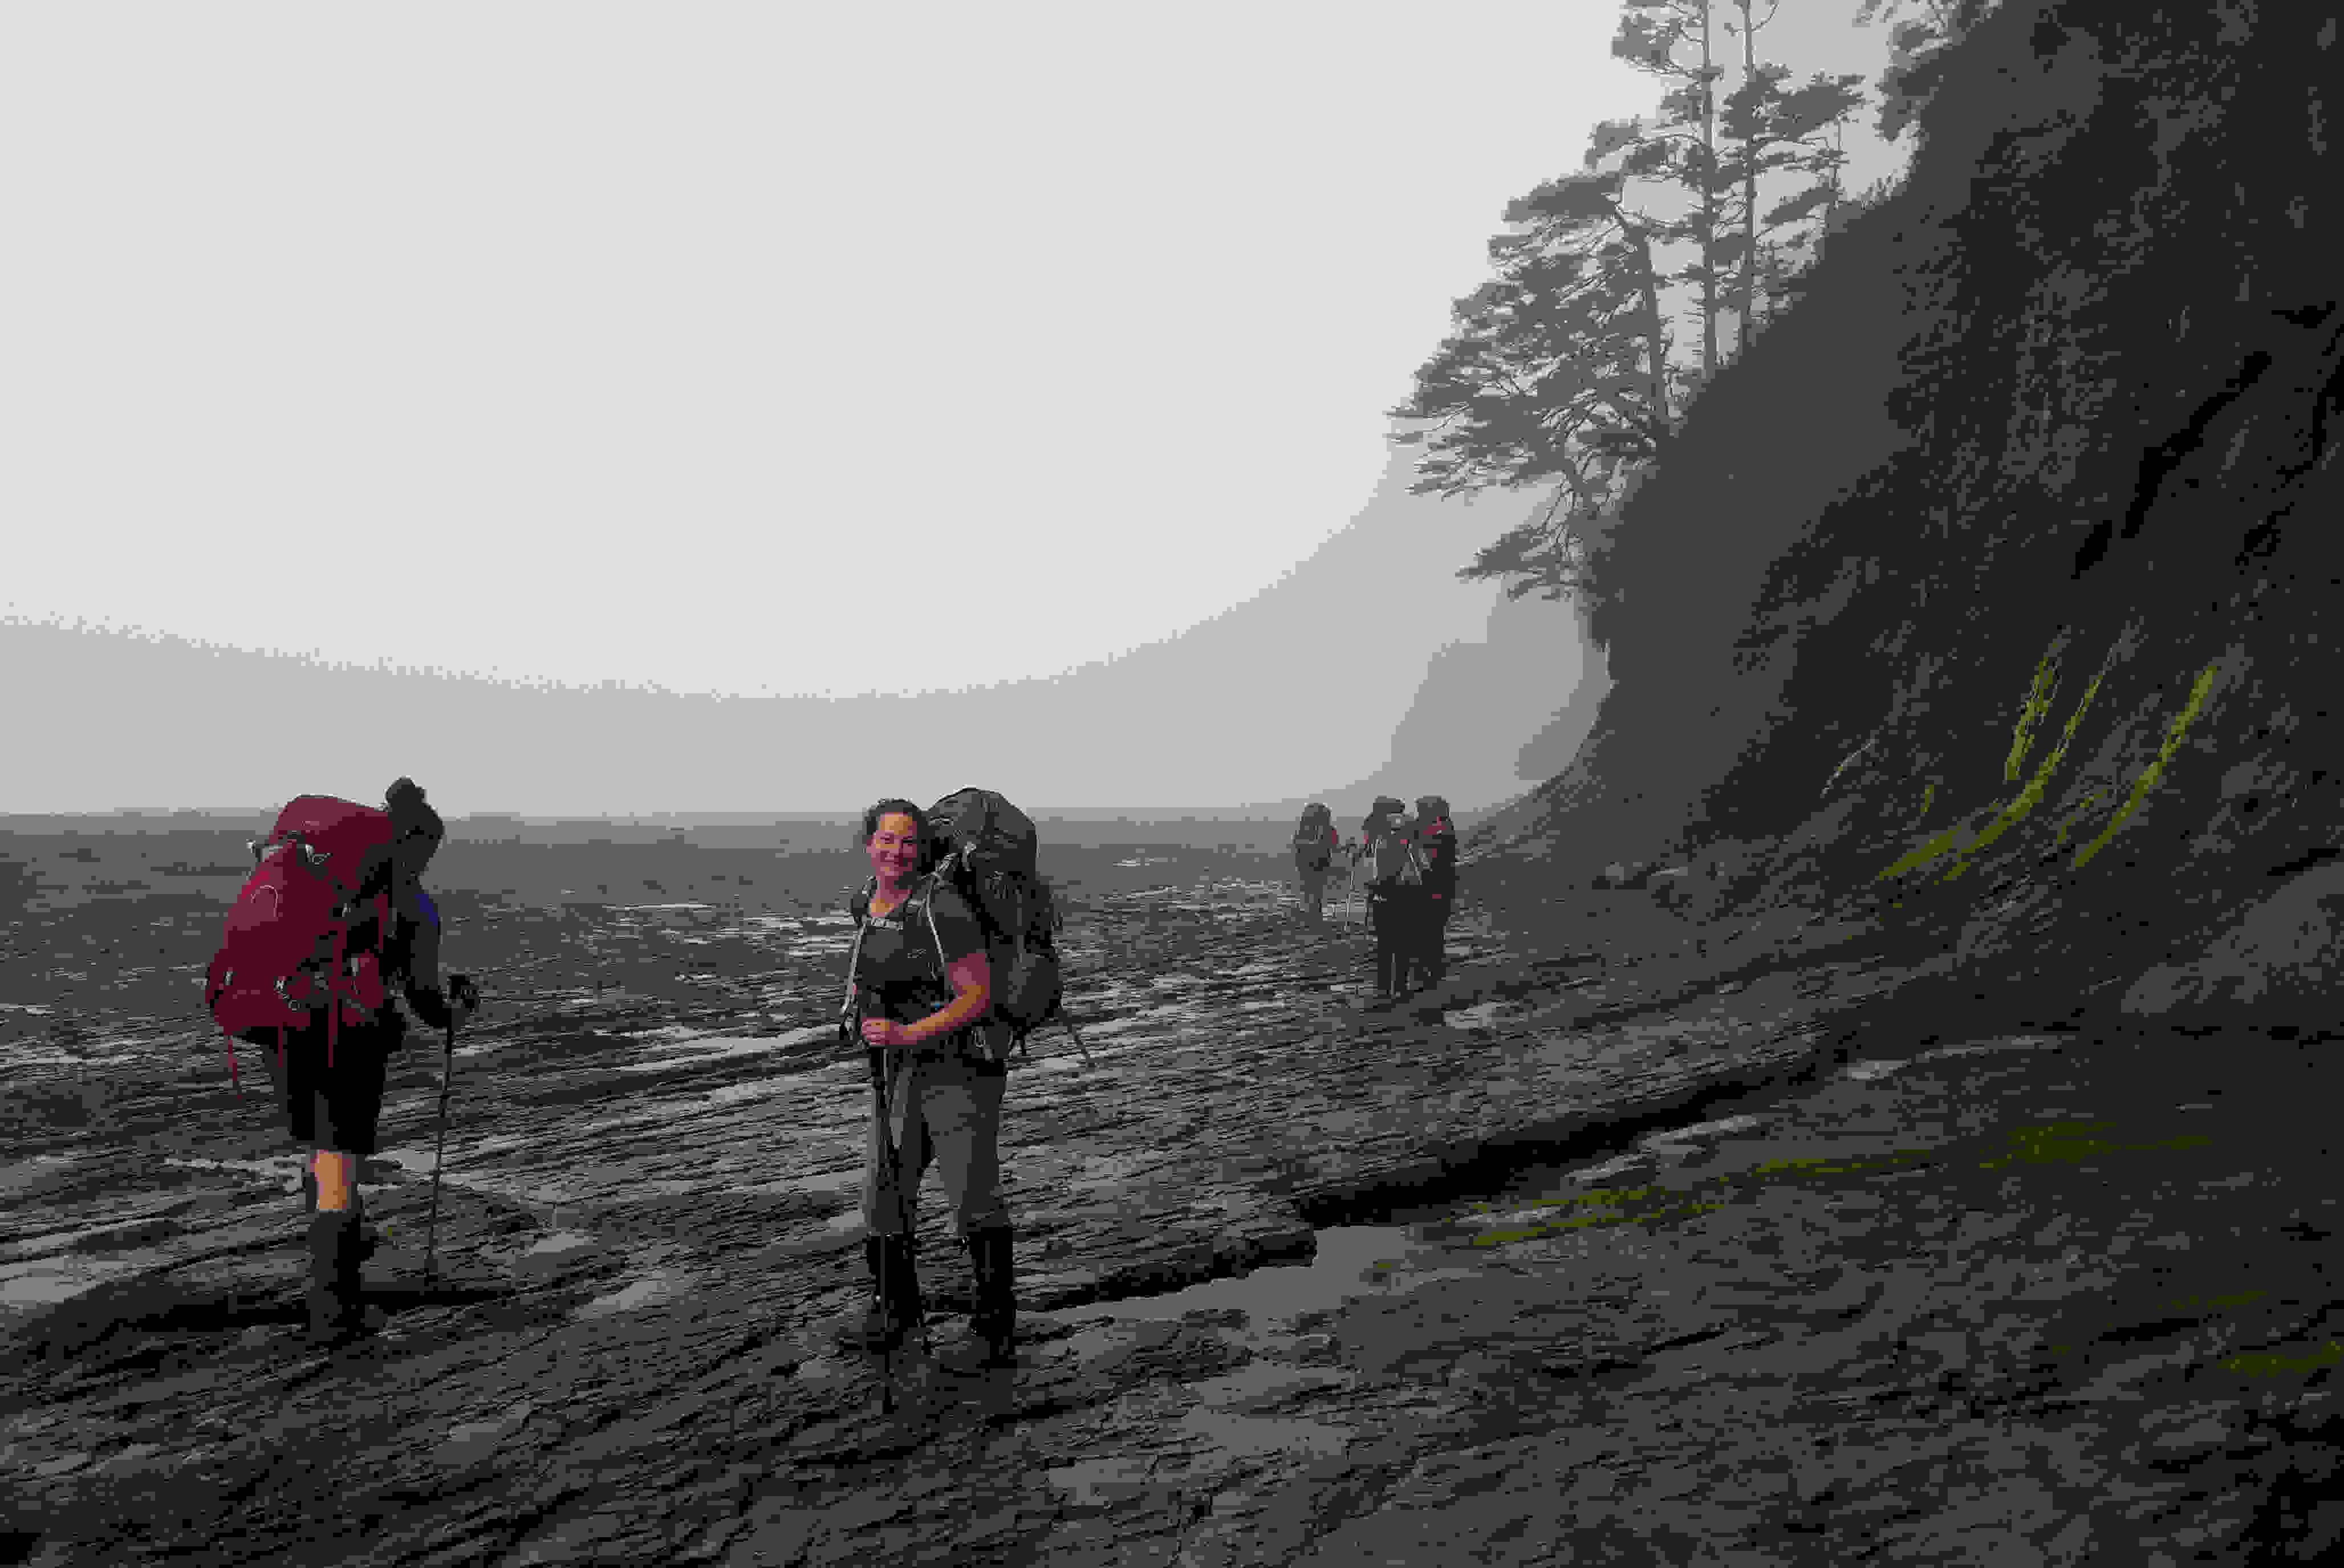
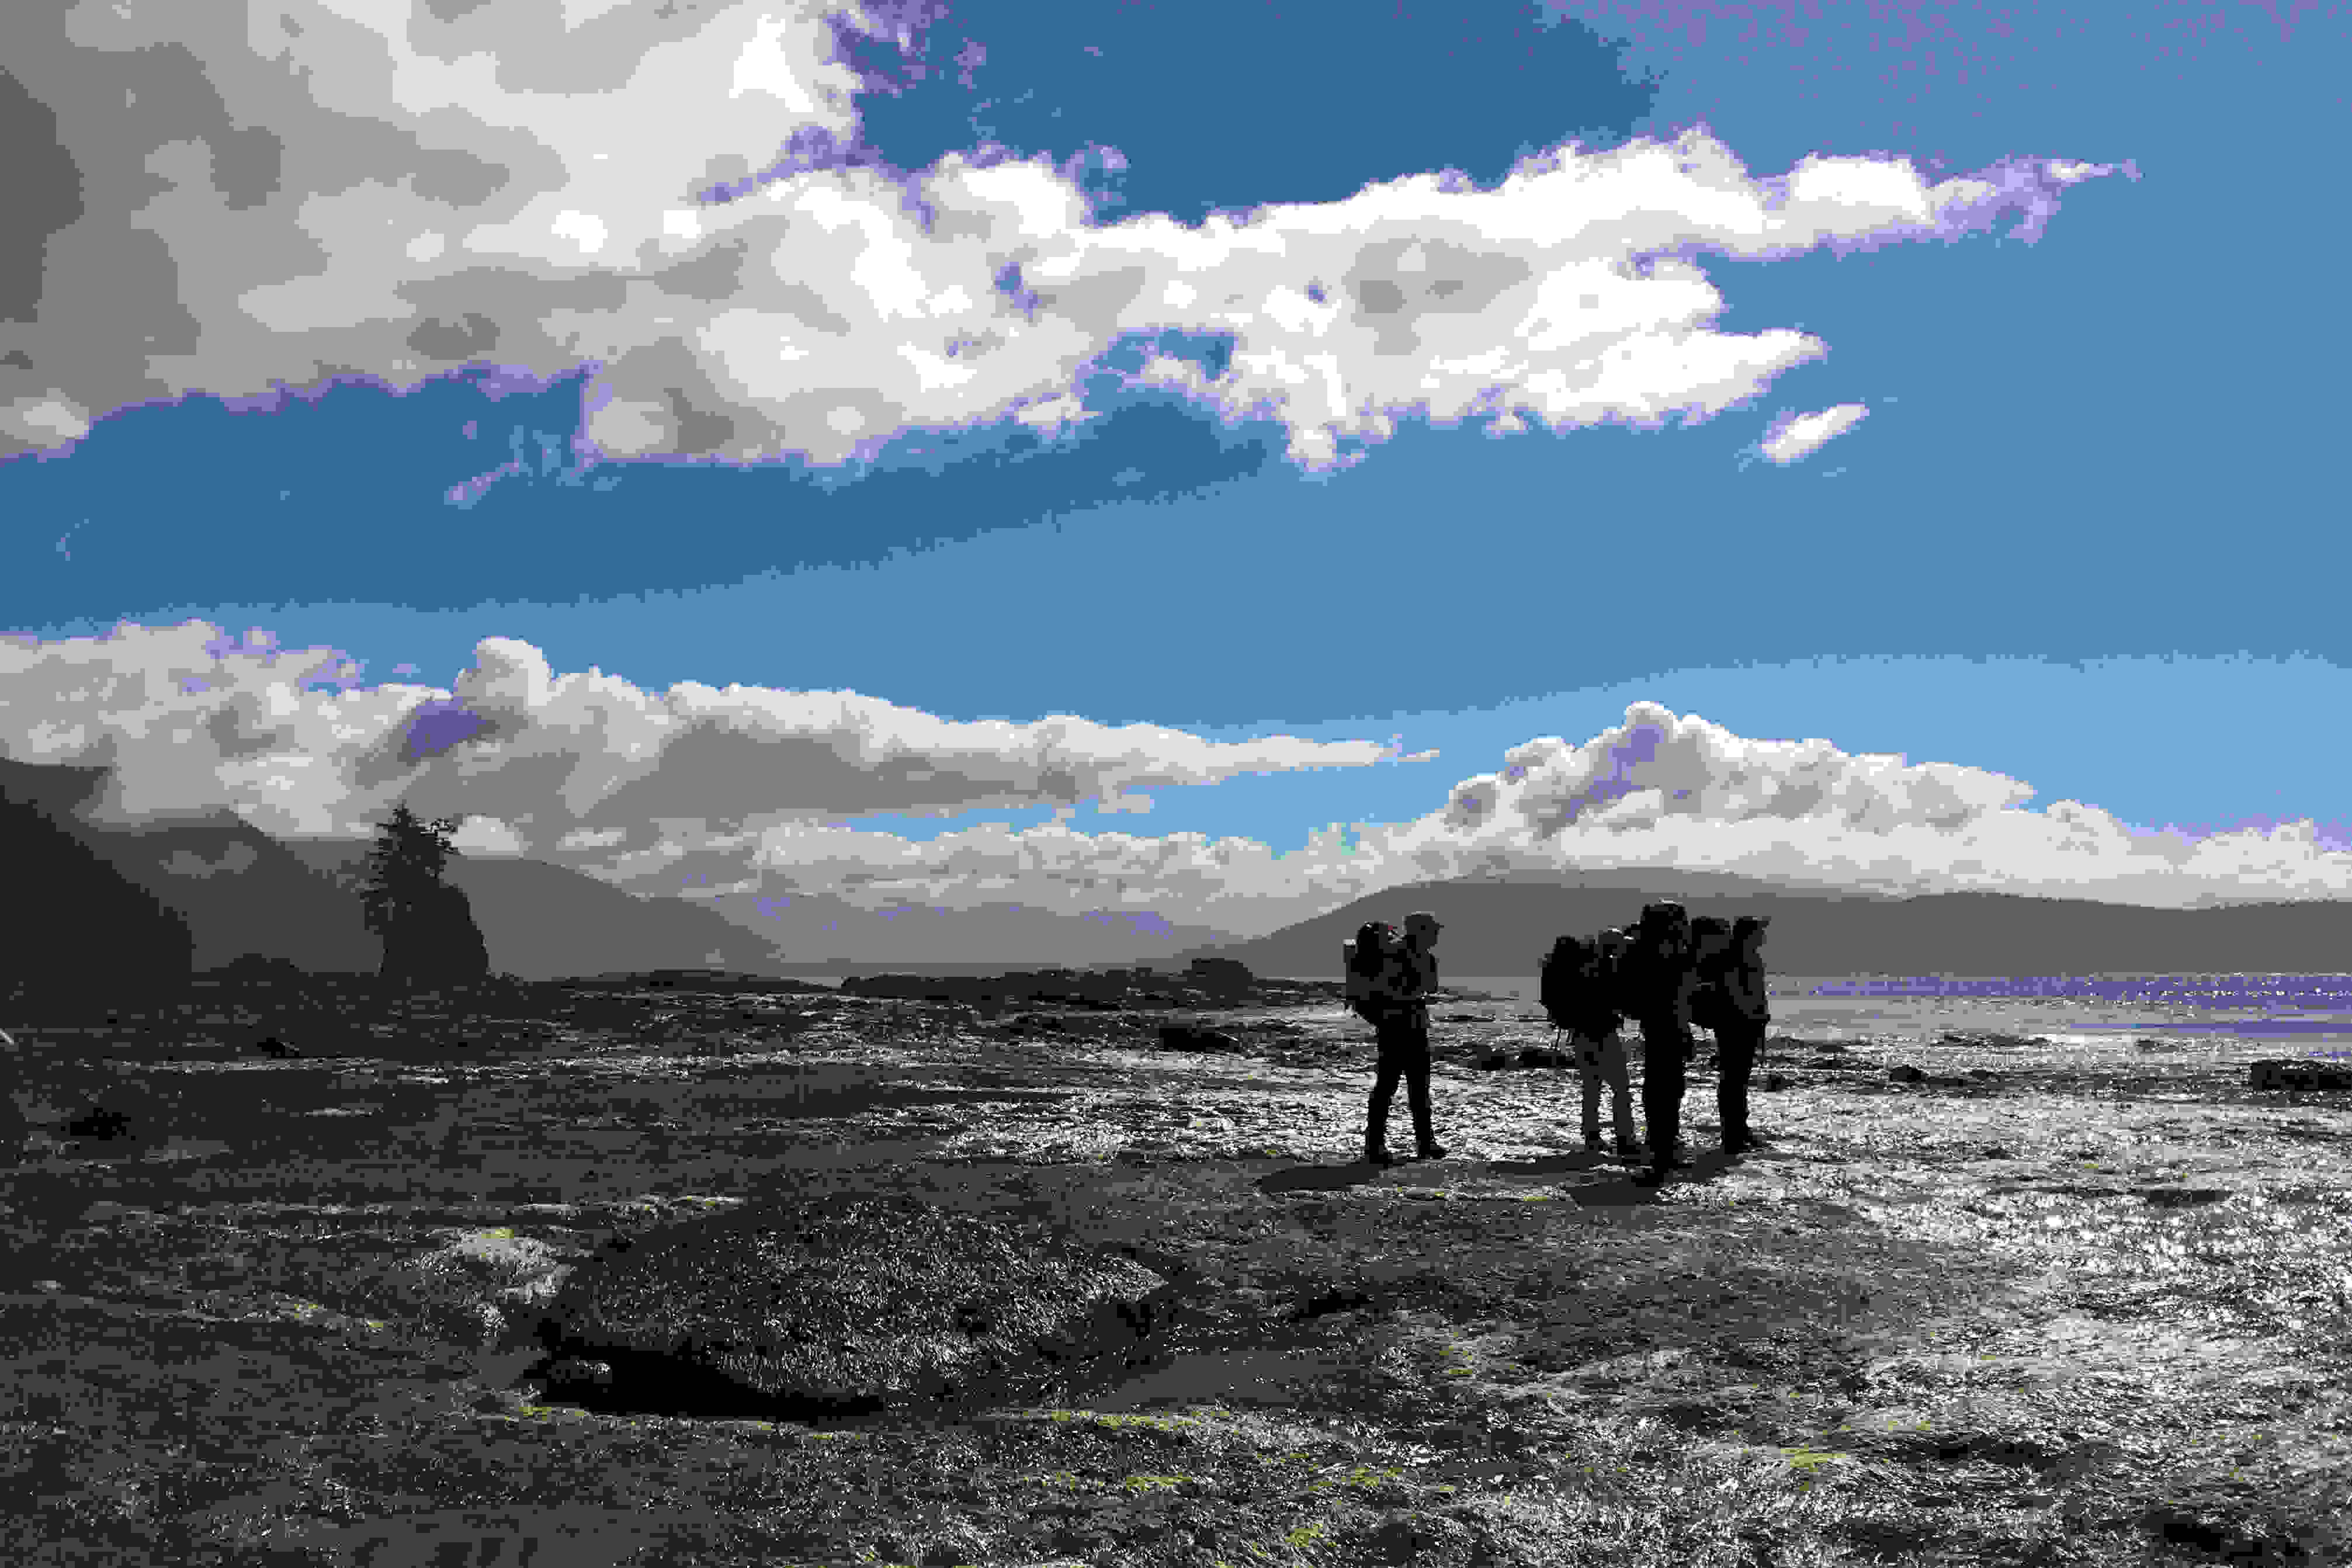
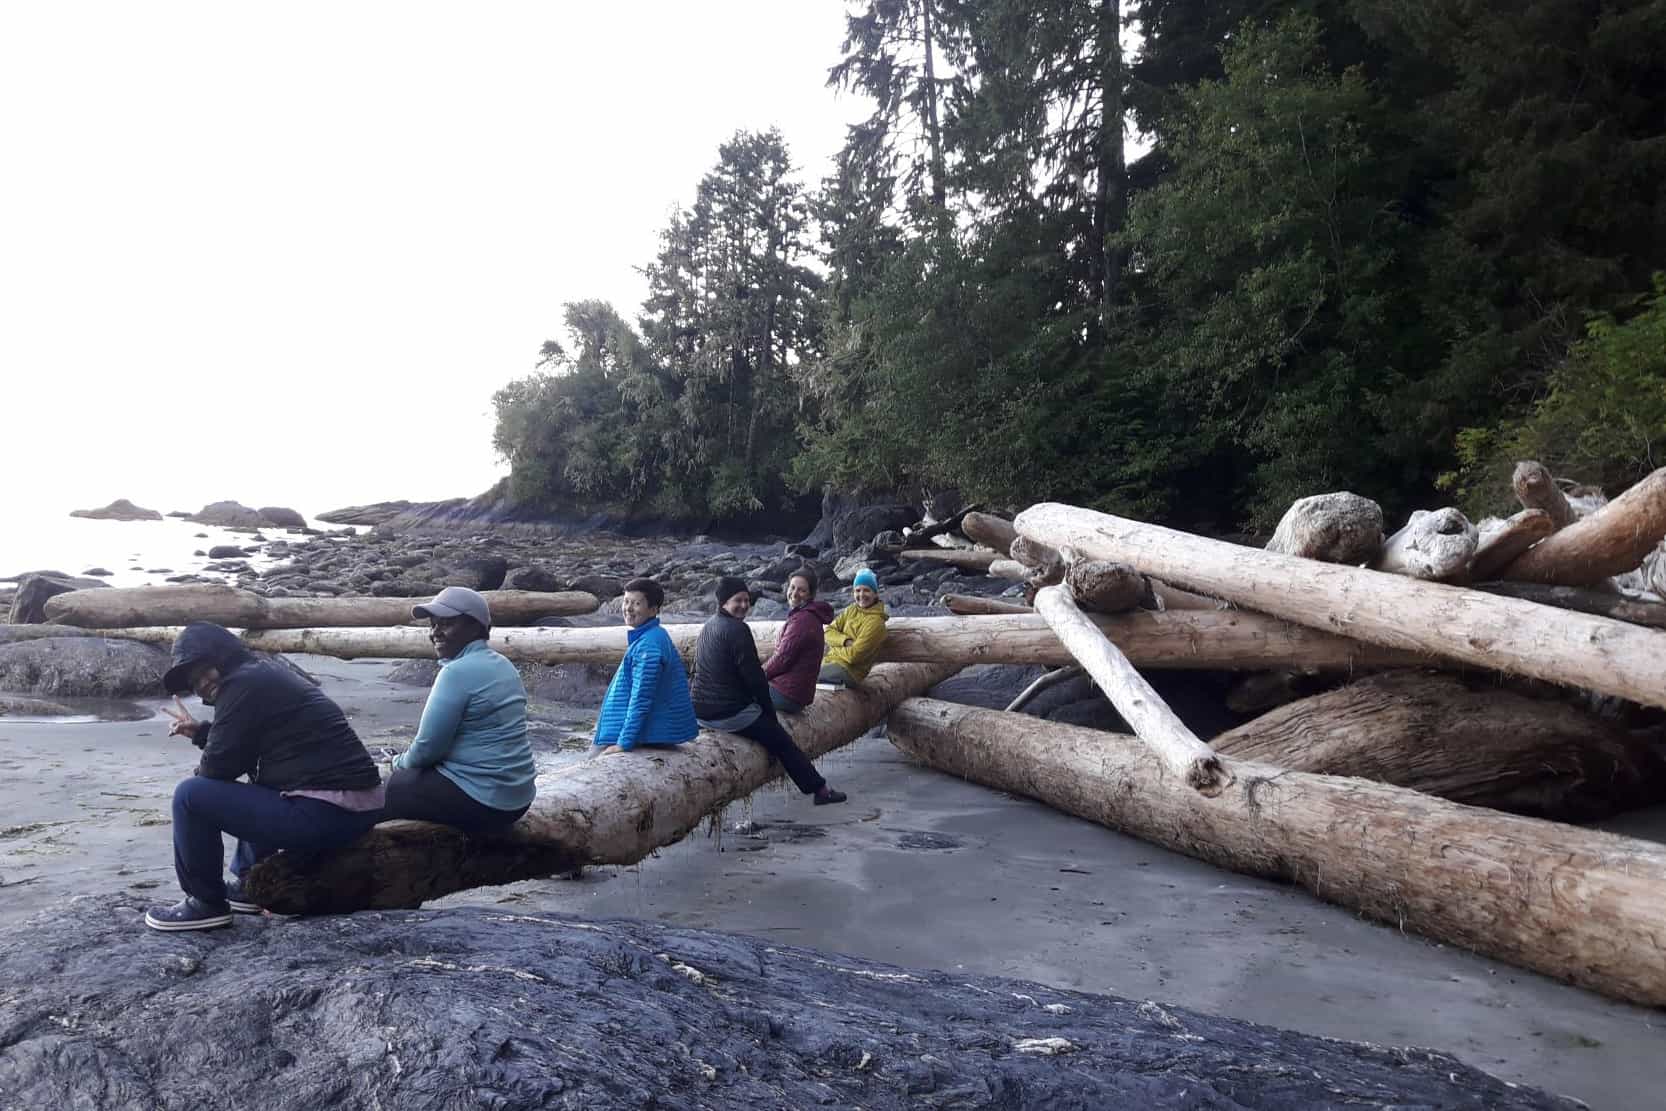
Packing For a Big Backpacking Trip
What and how to pack for a big hiking trip like the West Coast Trail or other multi-day adventures like the Rockwall or Cape Chignecto through uncertain weather is one of the most common, (and controversial!) topics out there. Here at Get Outside we have backpacked thousands of kilometers and spent hundreds of nights out on the trail; so we’ve got some experience on the topic.
We’ve got a Packing List, which is a great starting point. Below, you'll find more information on the finer details of packing for longer backpacking adventures. If you need some of the items on the list, check out our article on how to find cheap gear so you can be well prepared without breaking the bank.
"How do you pack for the West Coast Trail"?
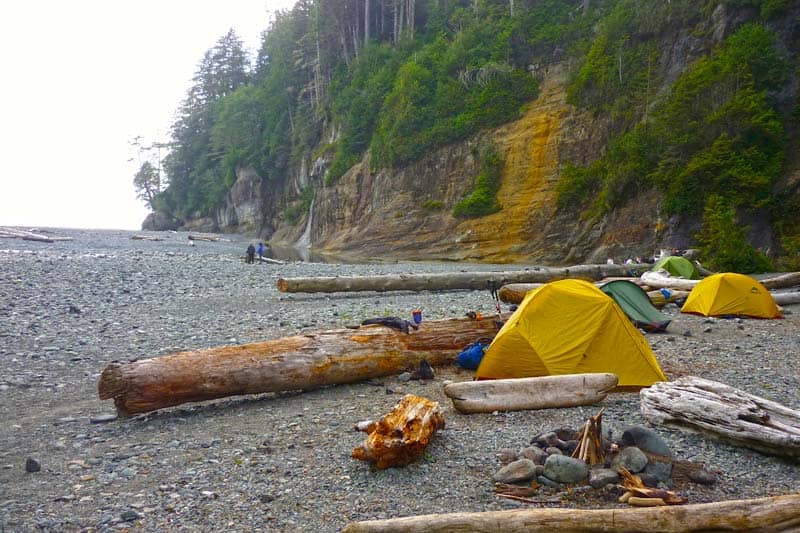
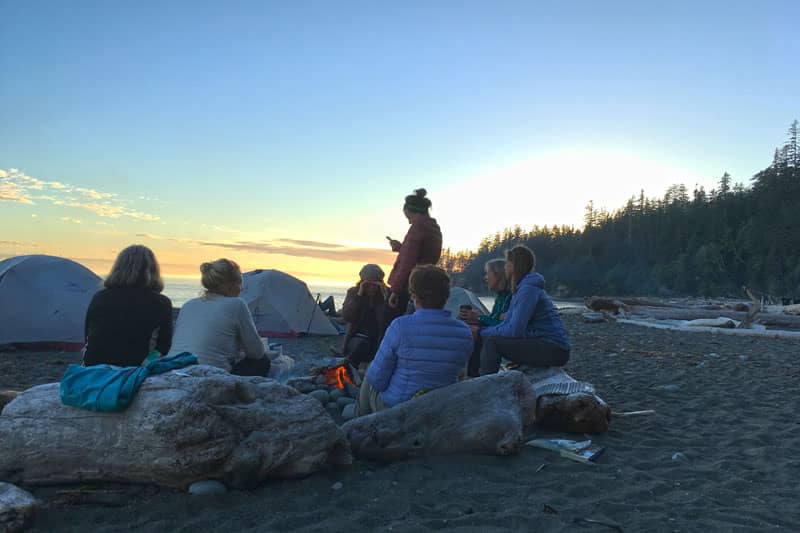
Staying Dry
This is a key goal when hiking in wet conditions. You want to keep your sleeping bag and clothes as dry as you can. This means at least two layers of protection from water, and critical items get an extra layer.
This might seem like a lot, but there are few better feelings than being tucked in warm and dry while the rain pitter patters on your tent at night.
Tips for staying dry once you get to camp
When you set up your tent for the evening, how you handle your gear will change based on the weather.
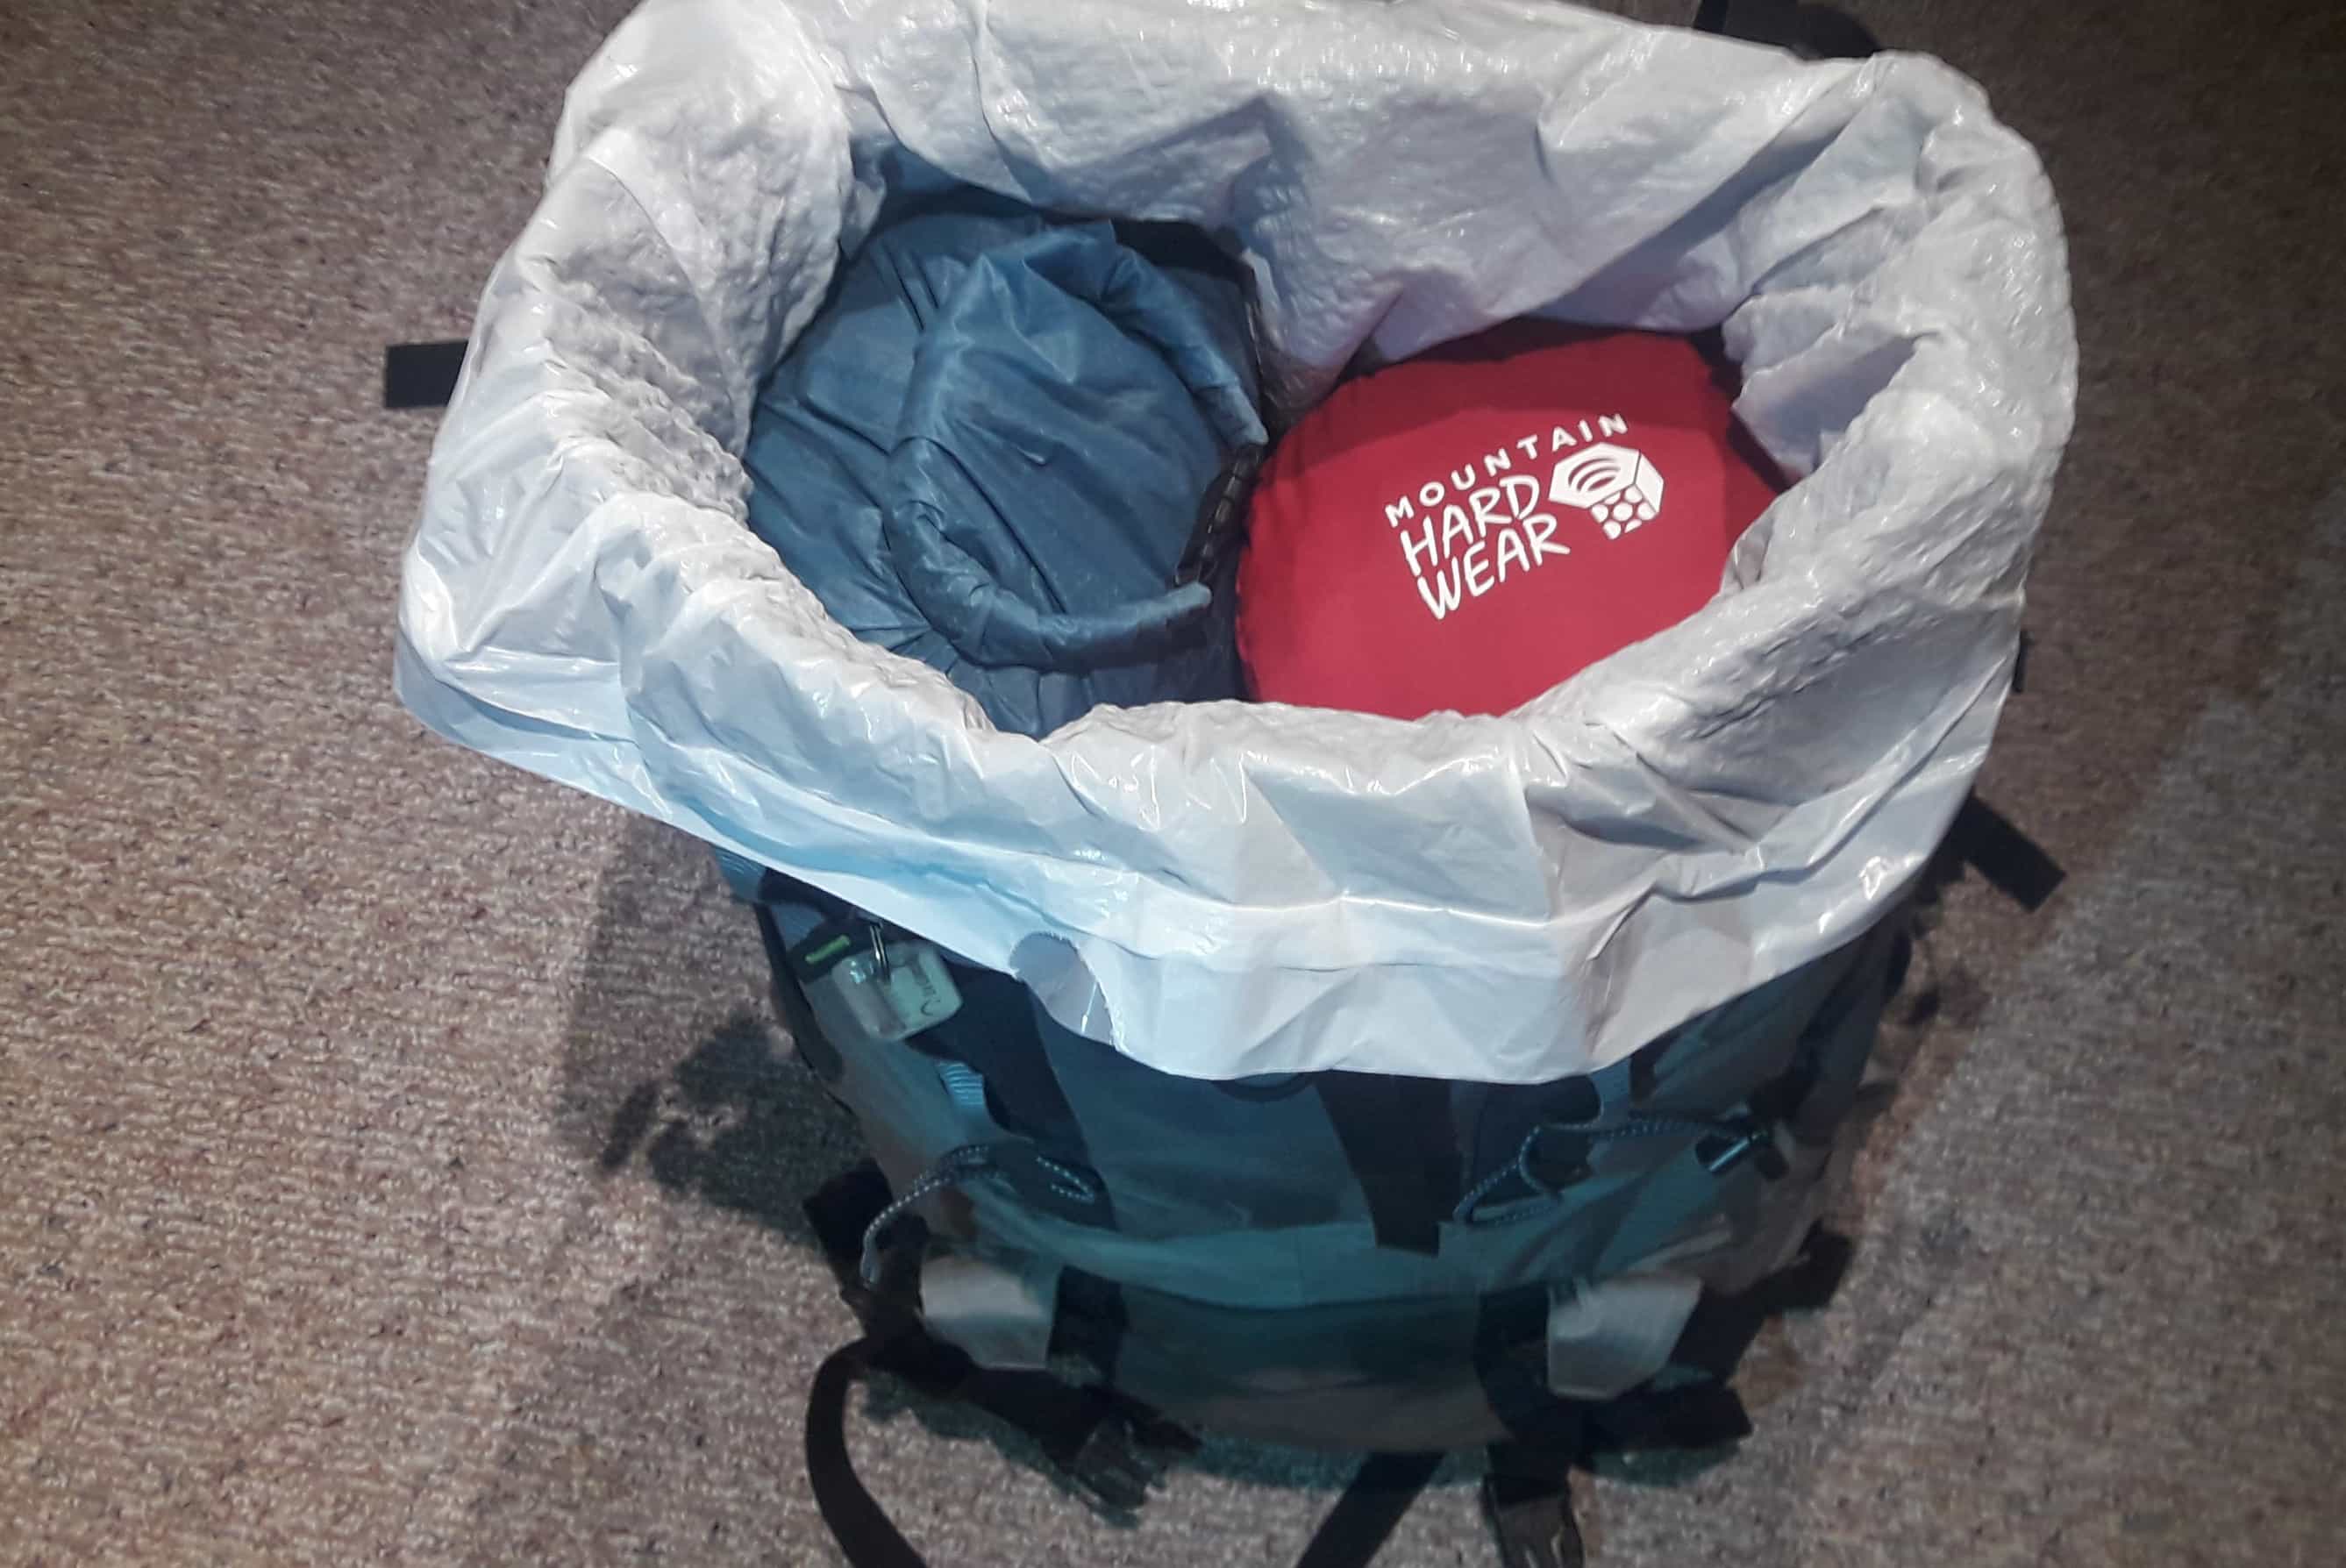
- If it’s raining or very humid, leave your sleeping bag and dry clothes tucked away in their waterproof stuff sacks until just before you get into them. This will keep them dry and prevent them from soaking up moisture from the air.
- If it’s sunny and dry out, then you can pull your sleeping bag out of it’s bag to let it dry out if the previous days have been damp. Open up your tent fly and let the air circulate to dry everything out. Don’t forget to close it back up before sunset when the dew will settle, or if the weather turns again.
- In cold weather, be sure to use all the vents your tent has, because the colder the weather is, the more water vapour from your breath will condense on the inner walls of your tent and sleeping bag.
If your tent is damp in the morning when it’s time to pack it up vigorously shake it to knock off as much water as you can (a friend really helps here!). You can also consider packing a lightweight camp towel to soak up as much moisture as possible before packing away your tent. When putting a wet tent back in your bag leave it outside of the pack liner. This will prevent it from getting other items wet.
Sleeping Bag: Down vs. Synthetic
This age-old debate has been around for years, and it’s not going away anytime soon. Either style of bag can work, and here are the pros & cons of either:
Both bags have merits and downsides. Ask yourself some of these questions to see what bag is right for you!
- Are you a meticulous person who packs very carefully, even when tired? Are you concerned about how much your pack will weigh? Do you have a good waterproofing system? Then down may be the way to go for you!
- Do you want to worry less about getting a few drops of water on your bag? Does the thought of wet down terrify you? Are you capable of carrying a heavier bag? Are you working with a limited budget? If this sounds like you, synthetic is for you!
Share The Weight
Pack For YOUR Body
Every body works differently, and we all run at different temperatures. Here are some points to consider:
Are you a sweaty mess after even the most mild exertion? Or do you barely sweat a drop regardless of how hard you work? Those of us who sweat more may want to pack an additional base layer or two, in order to have something dry to change into at camp. If you don't sweat much you might be able to wear the same shirt for 7 days (don't worry we all stink at that point). If you sweat a lot, you’ll also want to look for more breathable jackets to let some of that moisture out. Items don’t dry out as easily on the West Coast Trail. Having designated “camp clothes” and “hiking clothes” will help ensure you always have something dry to put on when you get into camp.
Do you run hot or cold? A person who runs warm and sleeps warm would do well to go with lighter jackets and sleeping bag, while a person who is generally cold is going to be better served to carry a bit more weight but actually get a good night’s sleep without freezing. Pack enough insulation to stay warm; the energy you’ll lose to being cold is far more than you’ll spend carrying an extra jacket.
Do you tend to have foot problems? Be sure your blister kit is well stocked and your boots are at that magic mid-point between broken in and worn out.
In general, pack your clothing system so that in the worst/coldest weather, you can put everything on and be comfortable. In everything less than the worst, wear whatever combination makes the most sense.
"Bring nothing that has only one job!"
Luxury Items
It’s only natural to want a few luxuries, and unless you are trying to win the Ultralight Hiker of the Year award, you can allow yourself a few treats to make life in camp and on the trail more enjoyable. The trick is to be careful about what you choose to bring, and be sure it’s worth the weight.
What’s a luxury? Opinions vary, but here are some “nice to haves” that you might want to leave behind and alternatives that can used in their palce. Try not to bring items that only have one job.
One way to make sure luxuries don’t take over your bag is to put them ALL in a separate pile, and weigh it. Sneaking these treats into your bag one at a time can be deceiving; putting them all together lets you know what you are getting yourself into.
We have found that the best luxury you can possibly pack for yourself is actually a light bag. You will have more energy, have more fun, and your body will thank you!
How Much Is Too Much?
A reasonable weight for a West Coast Trail bag is around 30-45lbs, including all group gear. Bigger people will typically be able to carry more weight, so it makes sense to distribute weight amongst the team according to carrying capacity. An ideal target would be ~25% of your body weight, and be careful to not exceed 33% of your bodyweight.
Don't Be A Junk Show
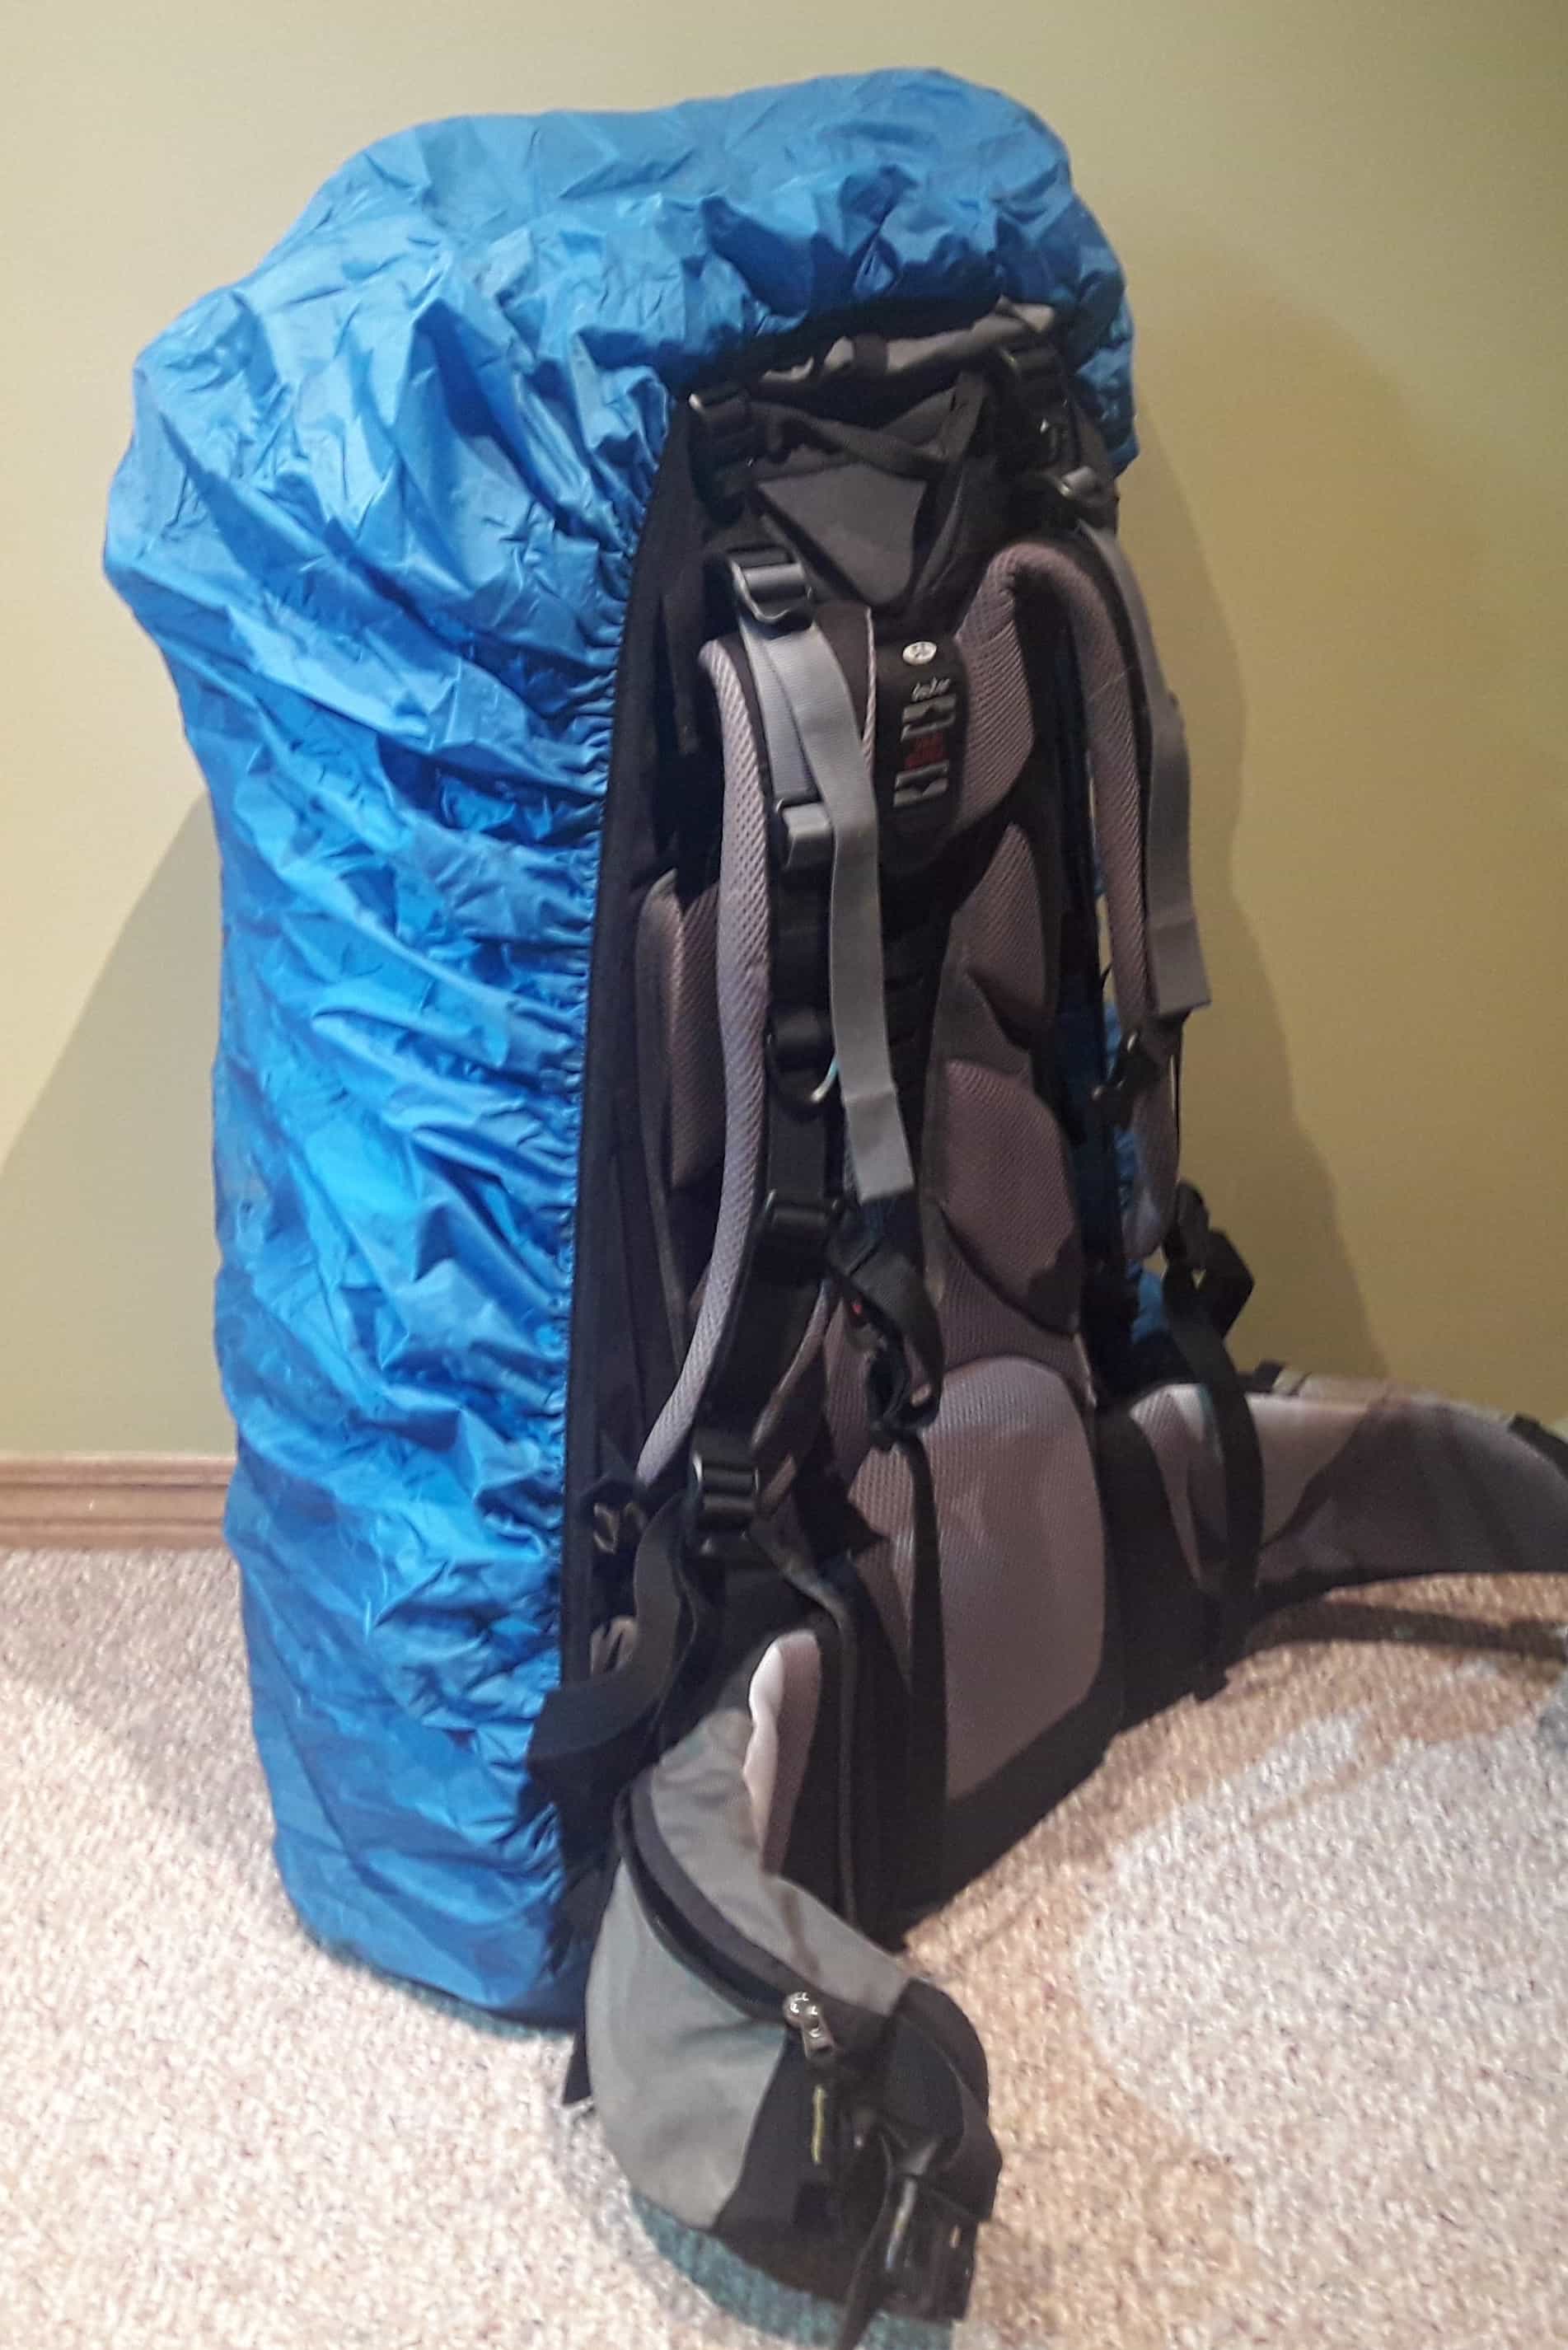
Pack everything in your bag. The only exceptions are bear spray, maybe the water bottle you drink from on the trail, and cooking fuel. That’s it. EVERYTHING else should go inside your bag. Why? Most importantly you want the weight as close to your spine as possible for you to comfortably carry your bag without injuring yourself. Also, having stuff swinging off the back of your bag from a collection of carabiners pretty much ensures you will lose or wreck items when you put your bag on the ground or scrape against trees and rocks. Doesn’t fit? Get a bigger bag or pack less. The standard bag for the West Coast Trail is 60L; if you can’t fit all your stuff in a 60L bag you need less stuff.
Very early on in Susan’s hiking career, she was a junk show (it happens to the best of us). Her bag was so poorly balanced she had to lean against something when stopped, otherwise she would tip over backwards. Learn from her mistakes, and get everything in your bag!
Weight Distribution
How you place the gear in your backpack will help keep your backpack comfortable.
From top to bottom you want to make a sandwich. Light stuff on the bottom, heavy stuff around your low/mid back, finishing with light stuff on the top.
From the back to the front it's best to put the heaviest items closest to your back. The further away from your back items get, the lighter they should be.
From side to side you want to try and balance the weight. The side to side balance is often overlooked and can cause more weight to sit on one shoulder strap rather than evenly over both. This is a common cause for neck pain or numbness in ones hand while hiking. If the weight is too high in your pack it will tip side to side as you walk along the trail. Similarly, if the weight is too far away from your back the backpack will feel like it's going to pull you backwards.
The sweet spot is having the weight concentrated against the small of your back. This way the pack will move with you and will feel apart of you. The more comfortable you are, the more fun you'll have!
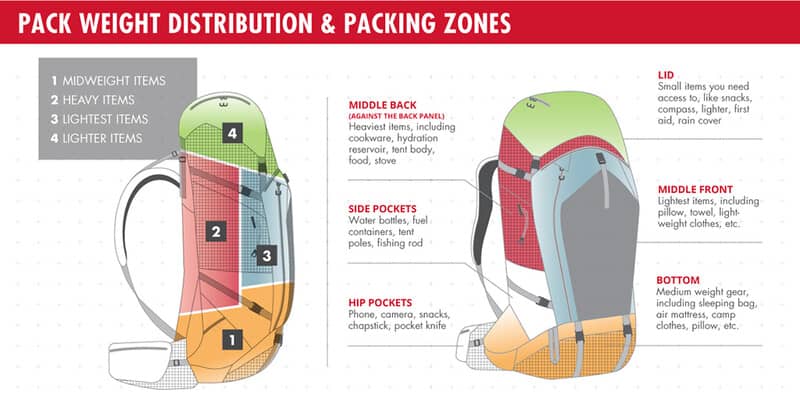
photo from https://www.msrgear.com/blog/how-to-pack-a-backpack/
Other Posts of Interest


Fresh off the Press
Most Popular Stories
Tags
Spread the Love - Share this article on your socials...