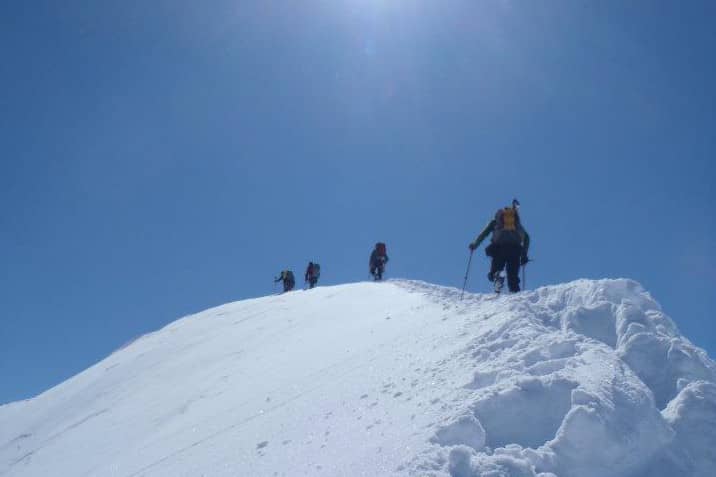
How to Become a Winter Hiking Guide

I am one of the guides at Get Outside, and I have been guiding in the summers since 2019. I was excited to expand my skillset and complete my mentorship to be able to guide winter adventures like Women’s Intro to Winter Camping or other Snowshoe trips. Here is how my December 2021 Association of Canadian Mountain Guide’s (ACMG) course went (spoiler alert, it was a lot of fun).
"recommend anyone who is going into the backcountry in winter take AST 1"
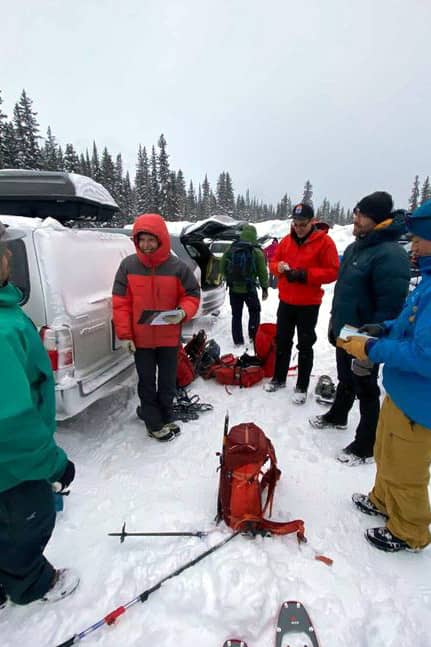
Pre-Course
To apply for the ACMG’s Winter Travel Accreditation, potential winter guides must have a base set of skills. Those are:
For more details, you can check out the ACMG’s courses page.
Since I have been exploring in the Canadian Rockies in all 4 seasons for the last 15 years, I was feeling well prepared. I’d also taken AST Level 2 , not just level 1, because of my own interest in avalanche safety, and was comfortable assessing avalanche terrain. I’d highly recommend anyone who is going to play in the backcountry in winter at least take Avalanche Canada’s online tutorial, and ideally take an AST 1 course as well.

I have spent a lot of time out with friends in winter as an ice climber, backcountry skier, and snowshoer, but it is a different feeling when you are professionally responsible for the wellbeing of the group. I was excited to learn how to be the best winter guide I could be!
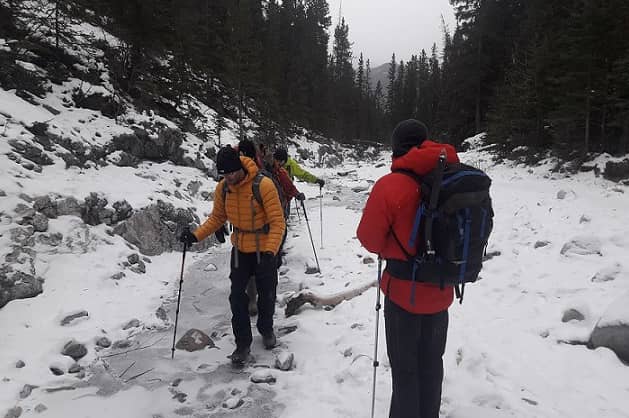
Our course kicked off with a classroom session talking about the main differences between summer and winter hiking, and how that applies to all aspects of planning a trip.
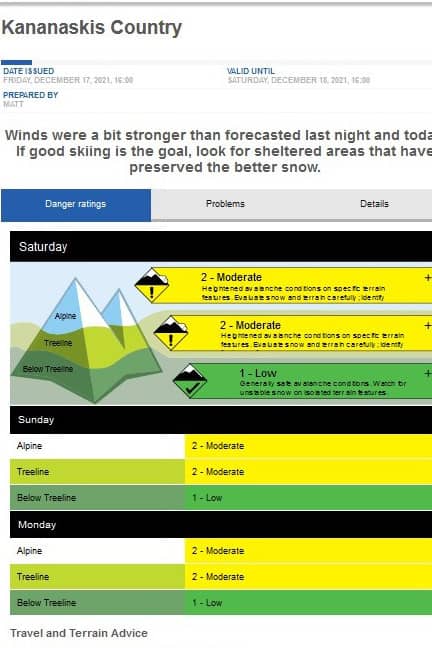
The main tool hiking guides have to manage the risk of avalanches is to simply avoid avalanche terrain. This can make planning a snowshoe trip challenging in the Canadian Rockies, because in the mountains 90% of the summer trails are threatened by avalanche. We learned about resources to assess avalanche hazard. These resources are invaluable for trip planning, allowing us to choose a route avoiding being on or under any slopes steep enough to slide.
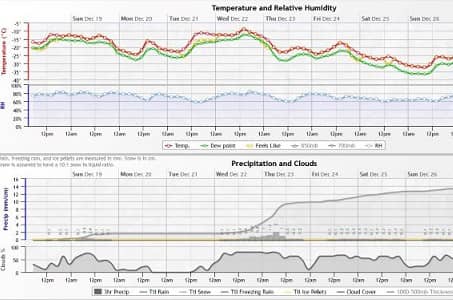
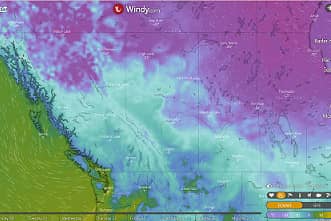
We reviewed several of the best sources for weather information, and when/how to use them. As the saying goes, “All models are wrong, but some are useful”. Weather predictions can help us plan for a trip, but we can’t rely on them blindly. My personal favourites are:
You can see more weather apps on our resource page
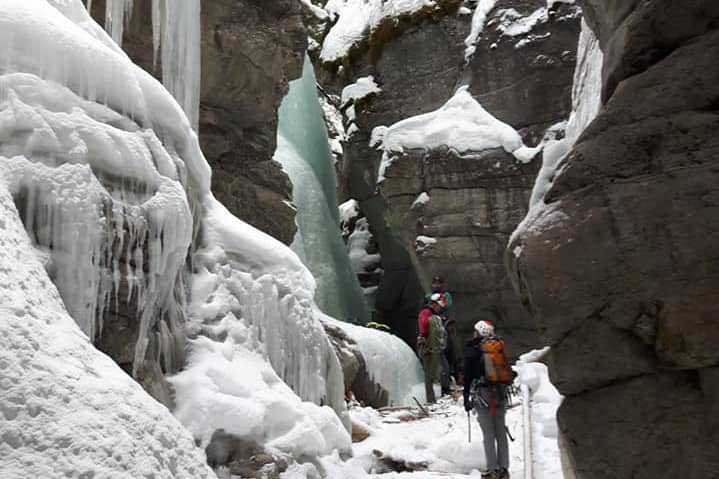
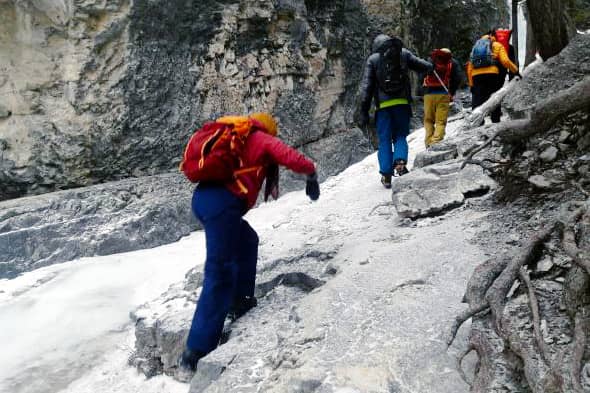
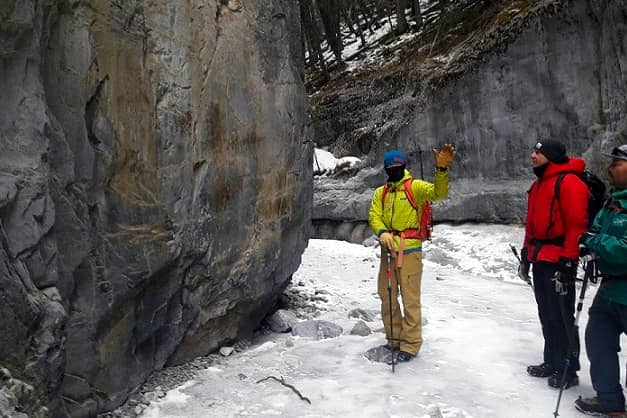
On our first field day we hiked up Grotto Canyon, a popular and beautiful canyon with a frozen creek that ends with frozen waterfalls. This was the perfect place to practice our ice walking skills.
Creek Ice
We covered how to attach ice cleats for traction and how to coach people when walking on slippery surfaces. When we reached the frozen ice section I suggested that we put on our traction cleats (We recommend these ones). Our instructor threw us a curveball. “What if someone forgot their cleats, or they broke and couldn’t be fixed, what would you do?” So we moved through the first section of the icy creekbed in only our boots. I had to be so careful choosing each step, seeking out rough rocks to step on (I called these, “traction gifts”), and shuffling along the ice like penguins. I enjoyed learning how to coach folks on tricky/slippy terrain, as well as the importance of double checking we have all the right gear and know how to repair it.
We found a steep section of ice that was a good demonstration of the limit of what we can consider “ice walking”. Any steeper, and you are no longer ice walking, you’d be ice climbing! (If that’s something you are keen to try, contact an Alpine or Mountain Guide. They would be the ones to take you). While I’d rarely want to take guests into that kind of terrain, it was a very useful exercise. Exploring at the edge of a winter terrain Hiking Guide's scope of practice and talking about hazards, risks, and how to manage them was valuable to me. I now have a solid approach to deciding when it’s a good idea to go to tricky places, and when it’s best to stick to easier trails.
Waterfall Ice
Many beautiful winter hikes end at frozen waterfalls, which are amazing to see in winter. Like most beautiful winter things, there are many hazards associated with them. Ice is an ever changing medium, and when it’s a vertical frozen waterfall, those changes can happen fast! This is especially true when there are ice climbers involved. We discussed how far away to stay to be out of the line of potential icefall (further than you think), including how to avoid getting hit by unlucky bounces of ice. Ice is always under tension, therefore, hanging ice daggers or bulges of ice can easily break from the impact of an ice climber’s tool or a change in temperature. One cubic foot of ice weighs close to 60lbs! I certainly don’t want to be in the fall line of that!
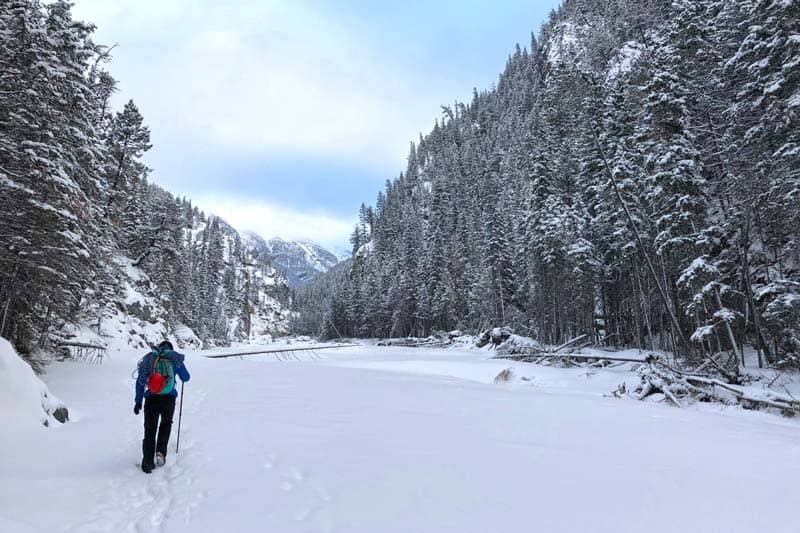
Lake Ice
Have you ever looked out on a frozen lake and wondered if it was a good idea to cross? Maybe ice skaters or other people were already on it? How do they know if it’s a good place to be? Or are they just guessing based on an instagram post they saw last week?
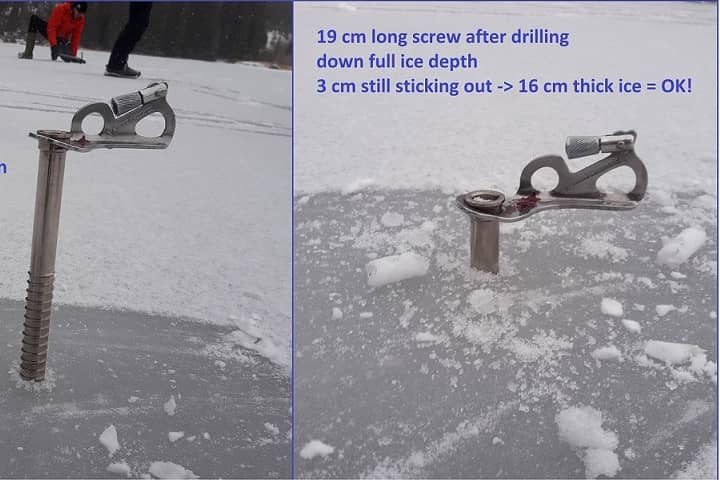
We learned how thick the ice should be in order to hold spaced out hikers: 10cm or more will hold a person, 13cm will hold a skidoo, and 20+cm is needed to hold a vehicle or large group that is close together. We got to play around with ice screws, which are used to bore into ice to check thickness. I was quite nervous (I may have even gasped!) when our instructor went on the ice of Grotto Pond and jumped up and down, but once I measured the ice to be 16cm+, I was much more confident he wasn’t being reckless.
We also talked about how best to get onto a lake, since the shore is often the thinnest and most likely place to break through.
We learned how to assess the quality of ice we are considering waking on. Blue/clear ice is best, grey ice can be ok, and white ice is not very trustworthy.
The consequences of falling through lake ice can be very bad. It’s a fast way to get hypothermia, and rescuing someone who’s fallen through is difficult and risky. This is an area that we all agreed needed a big safety margin. If there is an option to avoid walking across lake ice, this is often the best choice. Lake ice assessment is not the place for guessing or hoping; either you are very confident the ice will hold your group, or you don’t go on it at all.
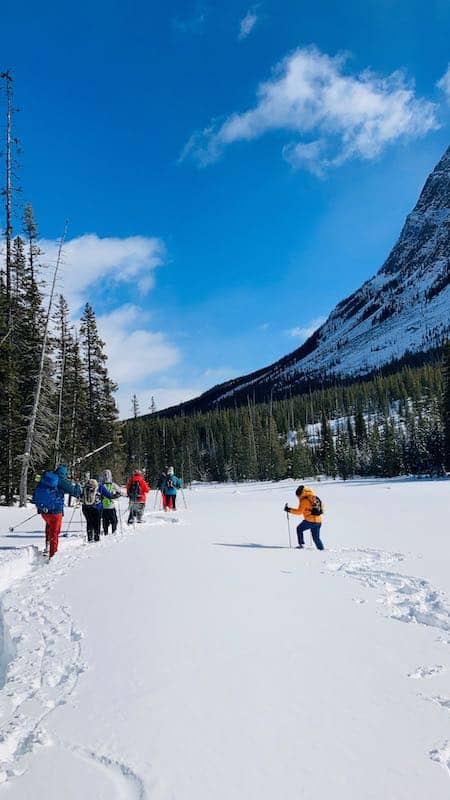
For the final day of the course, we headed up to Bow Summit on the icefields parkway. It was a wintery/stormy day, and the roads had just been upgraded from “travel not recommended” to “winter driving conditions”. This highlighted one of the bigger hazards winter adventurers encounter; snowy and icy roads!
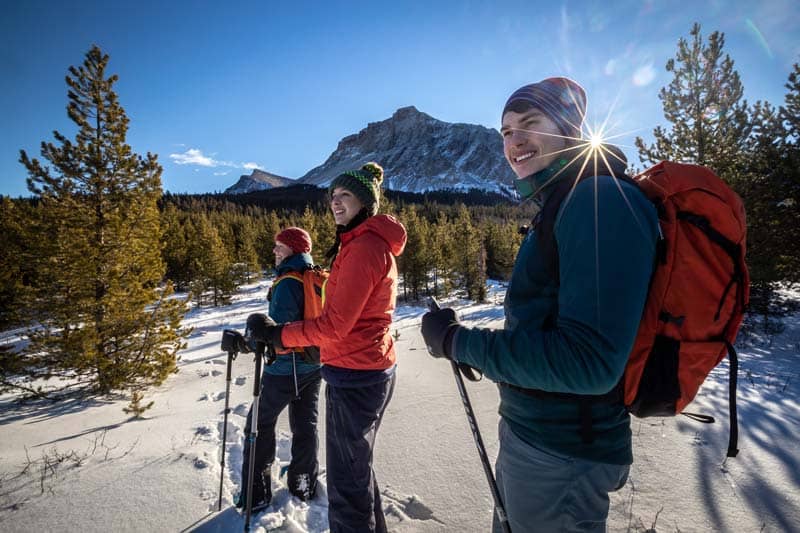
It was a chilly day (-16C at the start), so I was careful to ensure I had the right winter layers. We also discussed how to ensure the people stayed warm by checking they had the right gear, stopping to change layers when needed, and frequently checking in so any issues couldn’t become big problems.
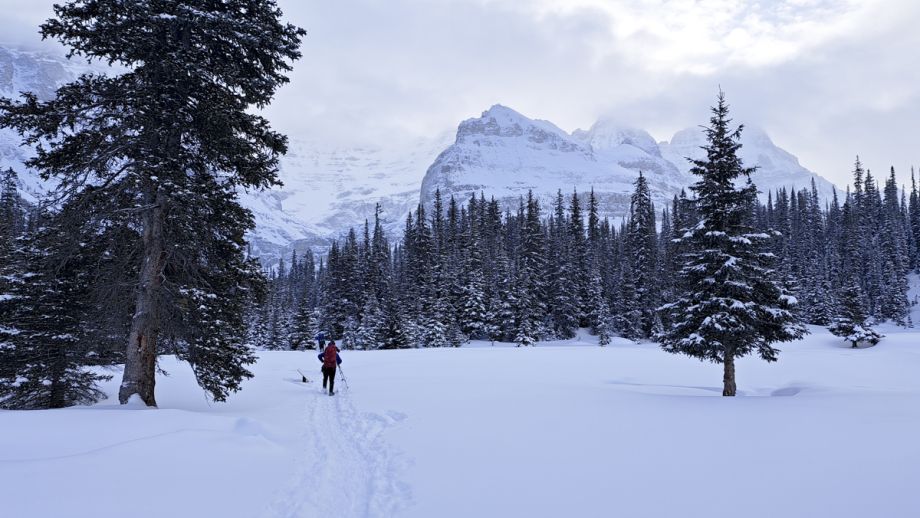
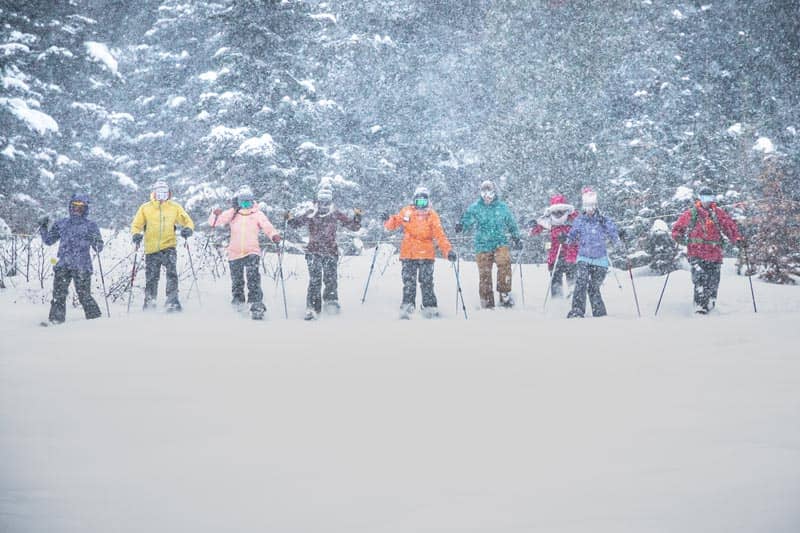
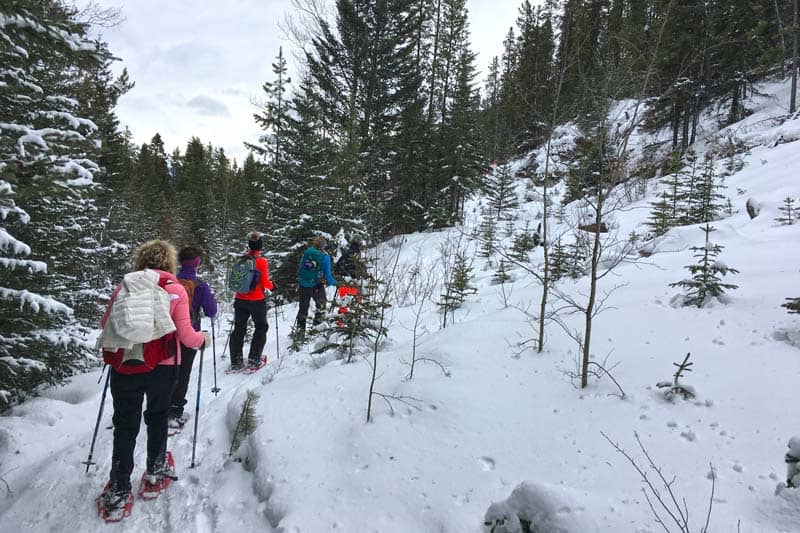
Snowshoeing Technique
We reviewed what makes a good snowshoe track (level, wide, and not too steep) vs a poor track (sloped, steep, narrow, or close to tree wells). It was interesting to see how a good track can lead to a great day out, and how a poor track can make even the most beautiful place frustrating to move through.
Each person's position in line can impact how warm or cold they are. This is a great tool to help keep the entire team warm, but not too warm. It’s a lot more work to be upfront breaking trail than at the back of the line walking a well trodden path. Rotating people through the positions according to how cold they are, or how much energy they have, can help keep everyone at the right temperature.
For more on snowshoeing, check out A Beginners Guide to Snowshoeing and Tips for Snowshoeing.
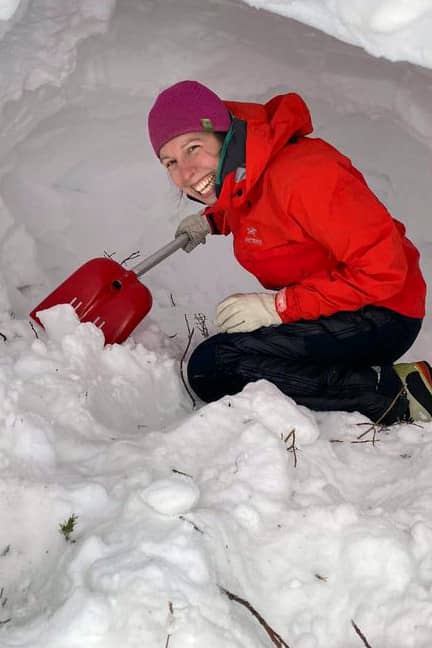
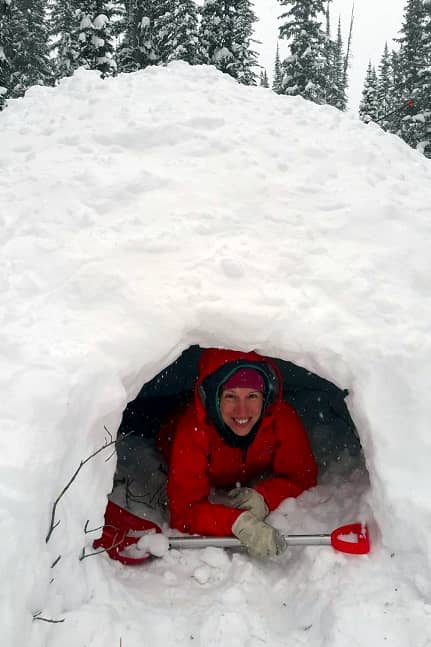
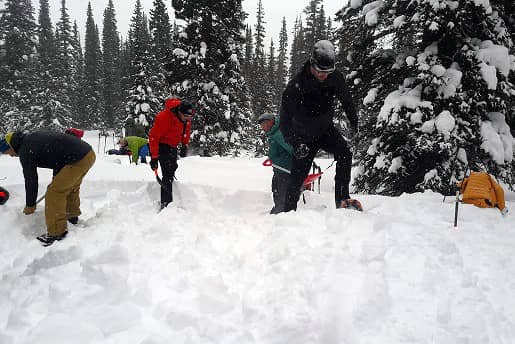
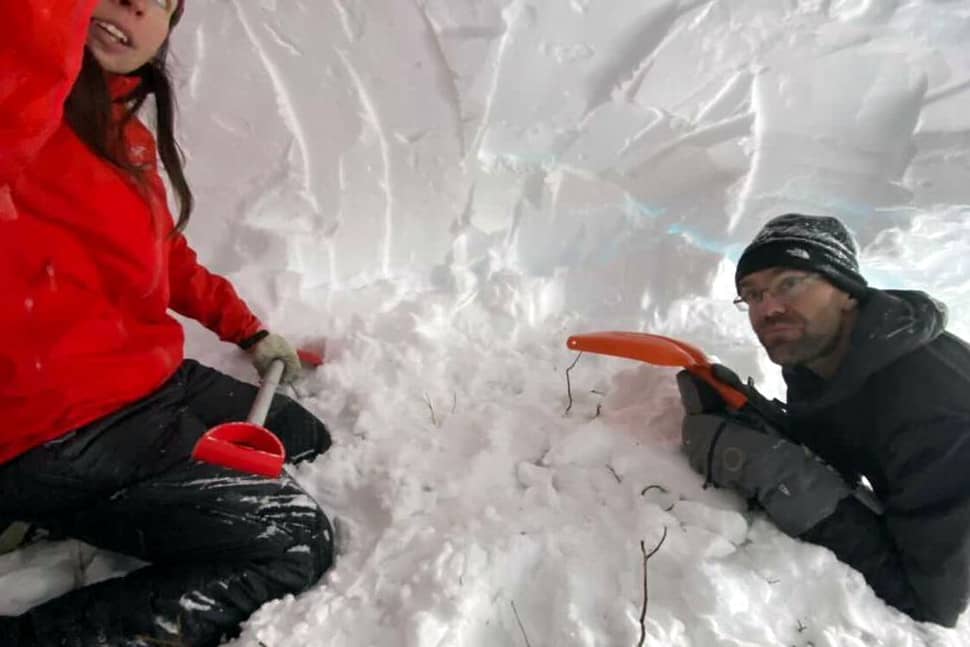
Building Shelters
This part of the course was a lot of fun! I left like a kid building snow forts! Snow shelters are much warmer than you'd expect. In fact, many expereinced winter travellers find them equal or better than a tent in some situations. I enjoyed carving out interior detials like shelving and nooks! The three snow shelters we covered were:

"Steaming hot chocolate is a luxurious treat on good days, and a lifesaver when things go wrong"
Emergency Situations
We want every day to go well, and the guides here at Get Outside work hard to make that happen. But it’s still important to prepare for when things go wrong, so we can get ourselves out of trouble when we have to. On our course we worked through a few scenarios of different emergencies and how we would respond. Some of my key takeaways were:
This is a summary of the skills we trained on during our course, and isn’t meant as an instructional manual on its own, but hopefully it gives a peek into what goes into preparing to be a Hiking Guide in winter! I very much enjoyed my time on the course and am looking forward to putting my new skills to work getting out this winter! Perhaps I will see you on the Women’s Intro to Winter Camping or other Snowshoe trips with Get Outside!
Fresh off the Press
Most Popular Stories
Tags
Spread the Love - Share this article on your socials...