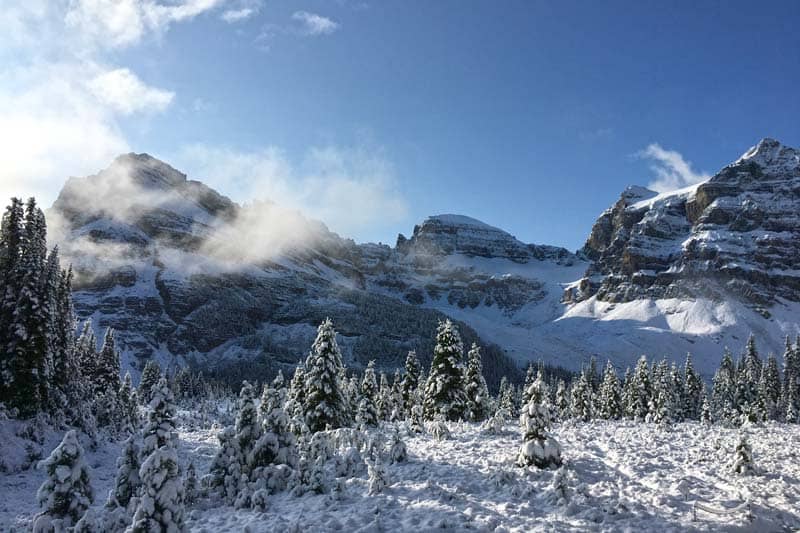
Planning a Winter Hike
"You don’t have to put the adventures on hold once the snow flies"
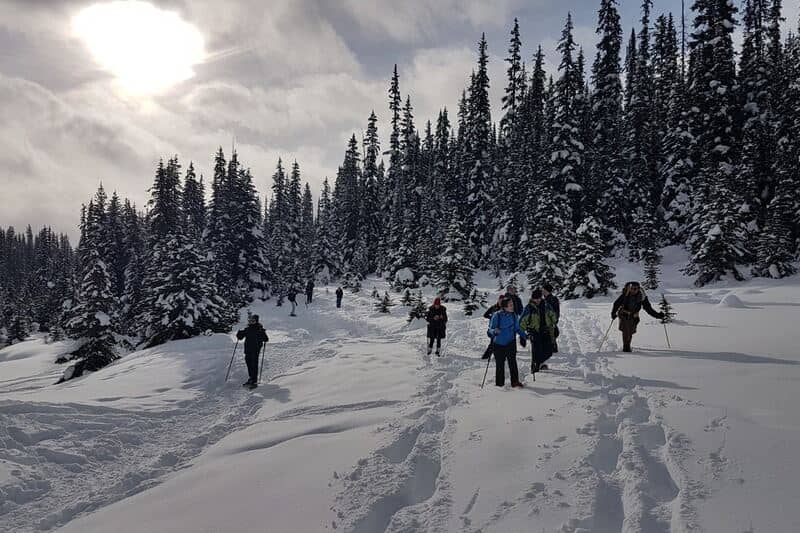

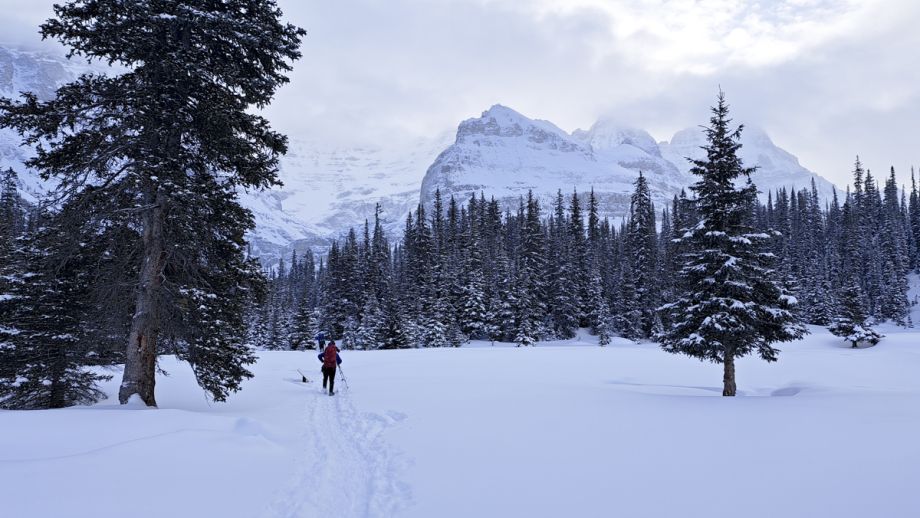
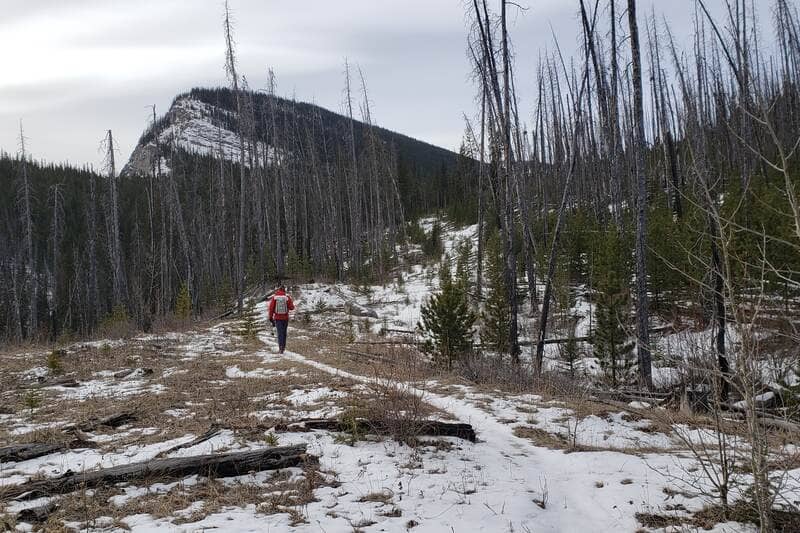
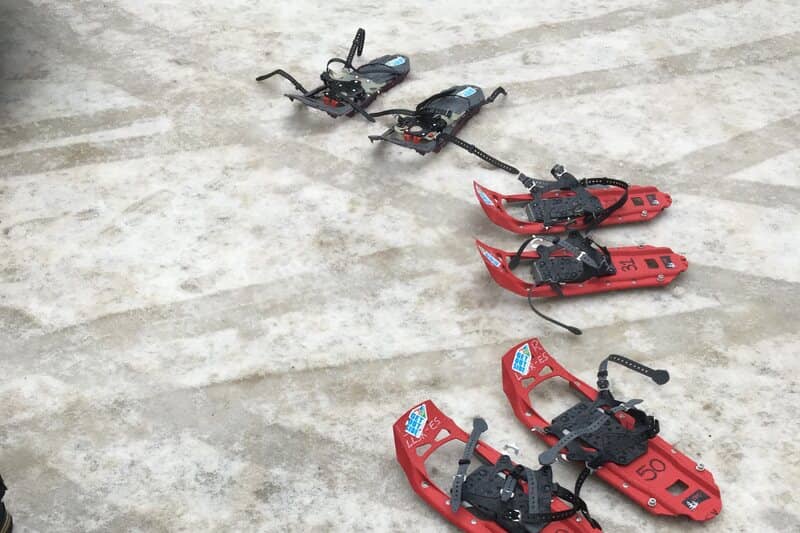
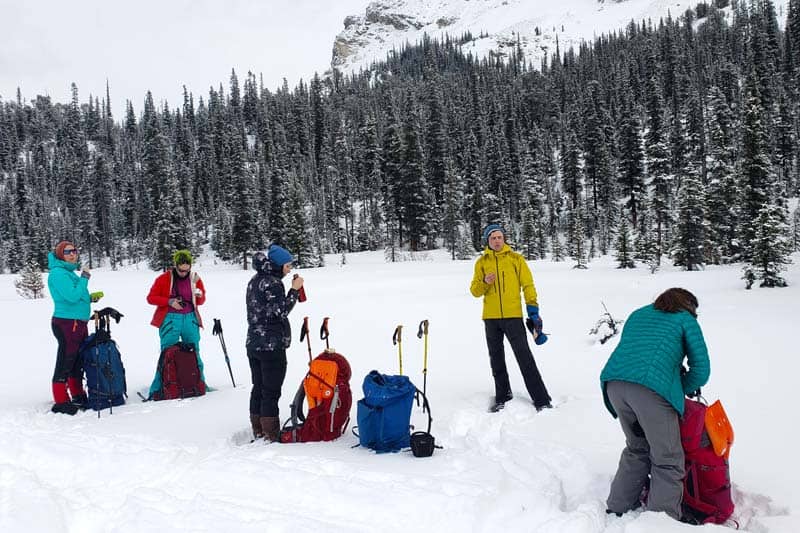
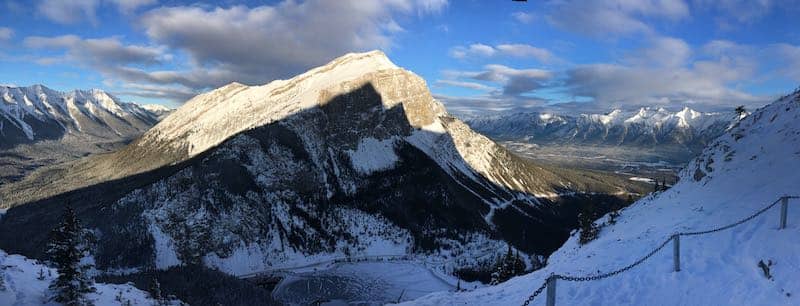
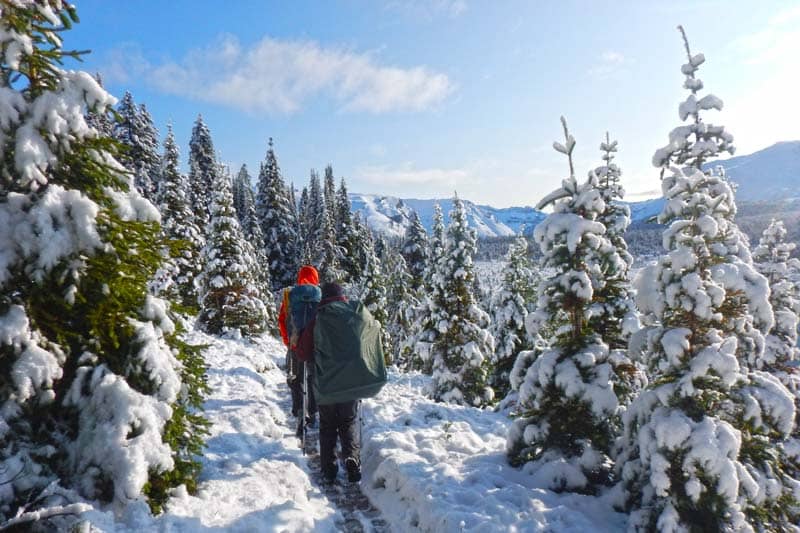
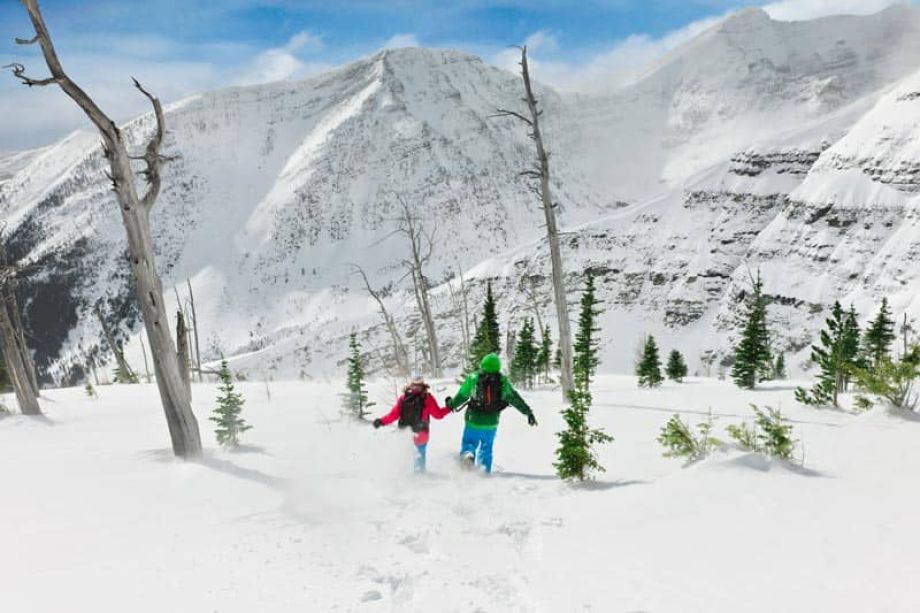
One of the first questions to ask is “How popular is this trail in the winter?”. If it’s a really busy trail like Chester Lake or Prairie Mountain, you probably won’t be breaking trail. On a well-packed trail, a person wearing microspikes can travel close to their normal summer pace. If you’re heading out right after a big snowfall or you choose a less popular trail, like we do on our snowshoe series, snowshoes are a must and you should count on moving slower. A good estimate is at least 25% slower than your summer pace. If your normal hiking pace is around 4km/h, you’ll move closer to 3km/h in winter conditions.

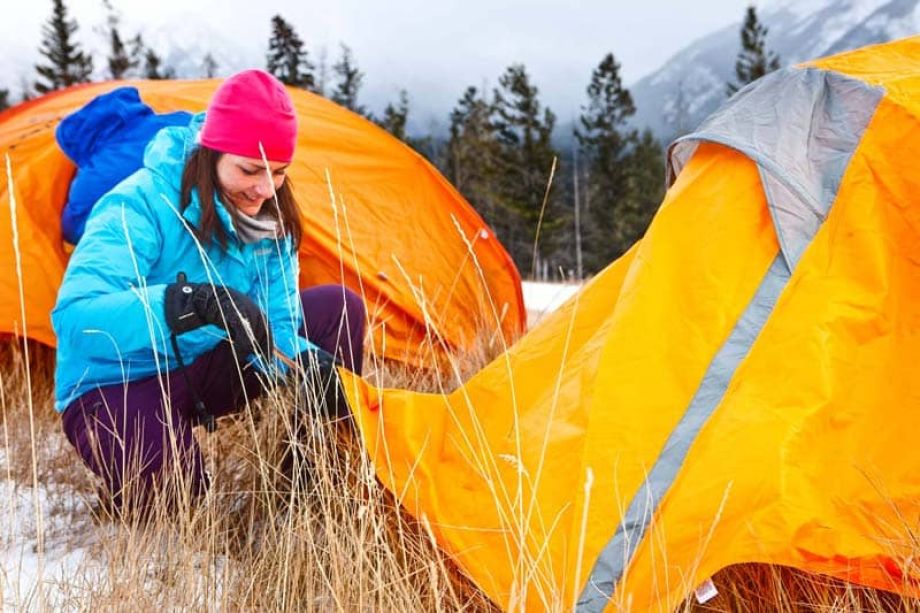
The second question to ask is how much time do I have? Here in Canmore, AB our days are much shorter in the winter, providing limited daylight hours. If you encounter super-deep, unsupportive, or wet snow your progress will be much slower. This is where flexibility comes in. Even if you give yourself a time buffer to deal with the unexpected, you might need to adjust your turnaround time. Pay attention to the time you left the trailhead so you can decide how long it will take you to get back. Nobody wants to get caught out in the dark! If you want to try spending the night out, come join our intro to winter camping course instead.
The biggest key to success on a winter hike or snowshoe is to be flexible and prepared. It’s great to reach your destination or objective, but that might not always be realistic. Success is being able to recognize when conditions aren’t what you expected and adjusting accordingly. Sometimes an ambitious 15km trip gets shortened to 5km, and that’s okay!
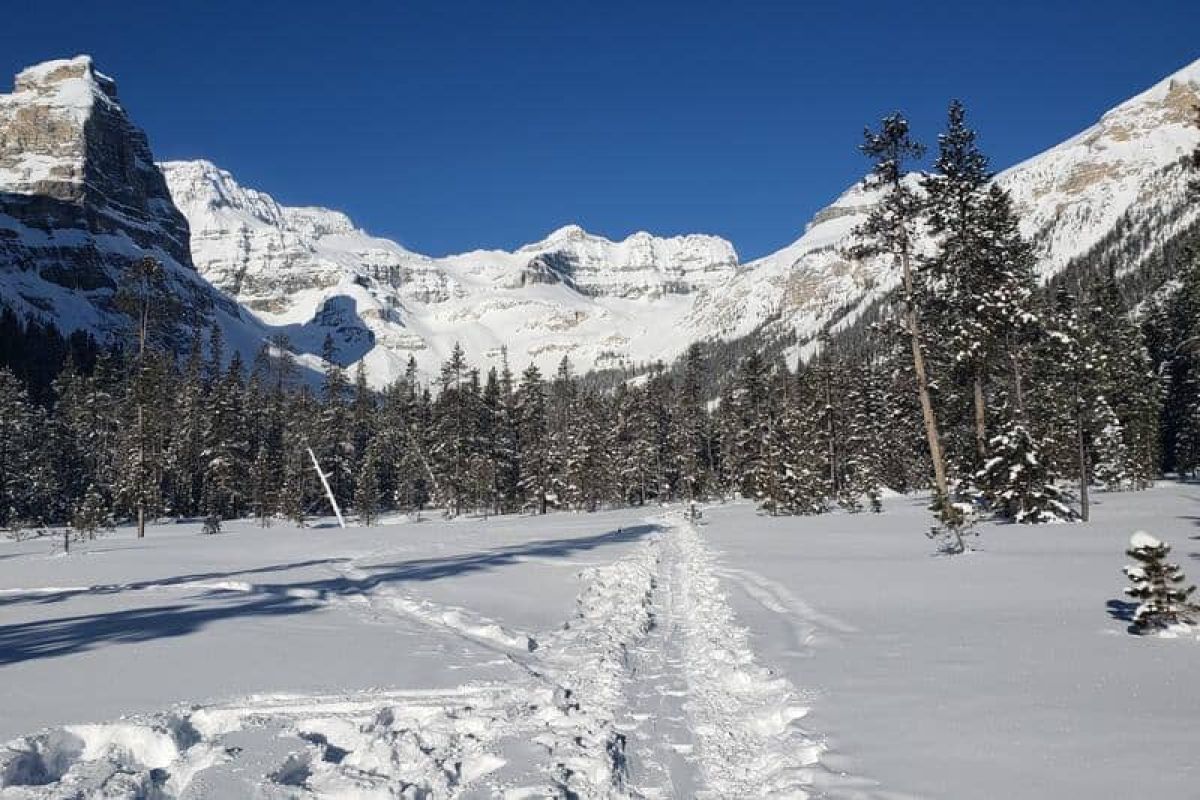
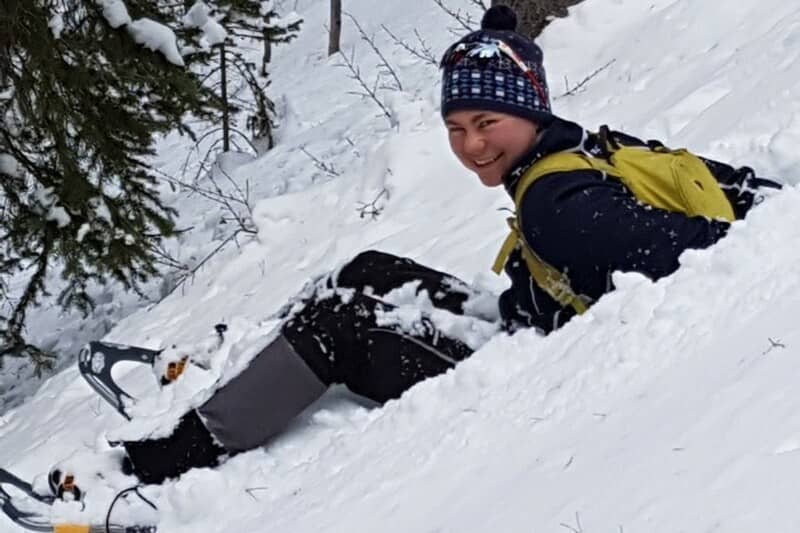
On ice, we all slow down! Chinooks happen throughout the season, and create icy conditions. Chinooks are more likely to affect trails where the snow is already packed down. In warm weather, packed snow quickly turns to slush and then freezes overnight. Traction aids like microspikes are key to traveling safely but expect to move slower and cautiously.
Alberta Parks and Parks Canada regularly update their trail reports during the winter. In particular, the Banff trail report will often include a reminder to use microspikes when trails are icy. If your destination isn’t an official trail, or you want to read comments from those who have recently snowshoed an area, the comments on AllTrails can be another useful resource. Use caution when using AllTrails for route details, distance, and elevation gain.
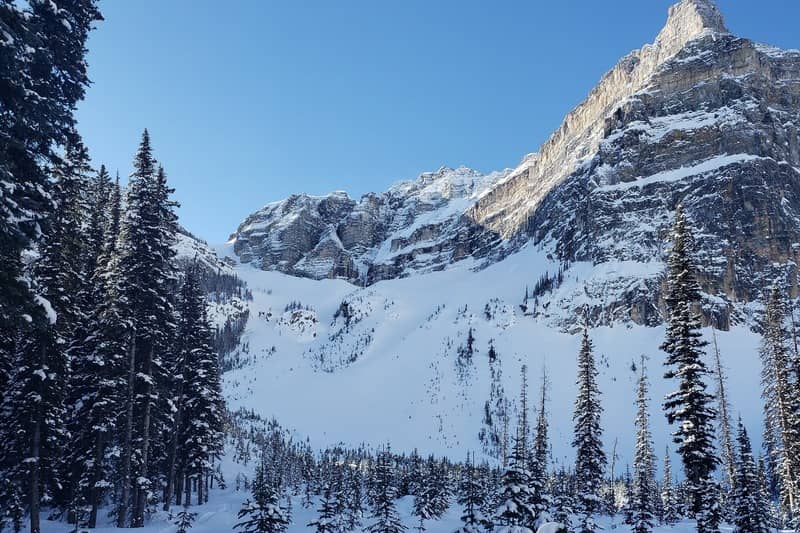
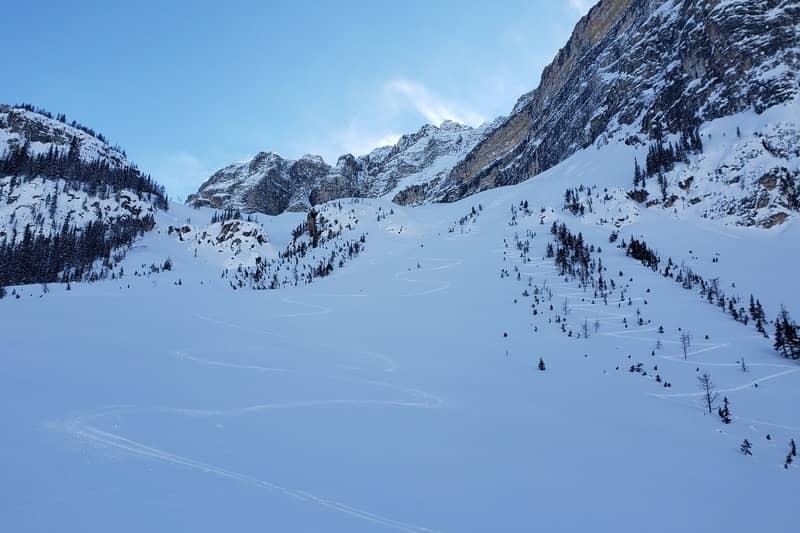
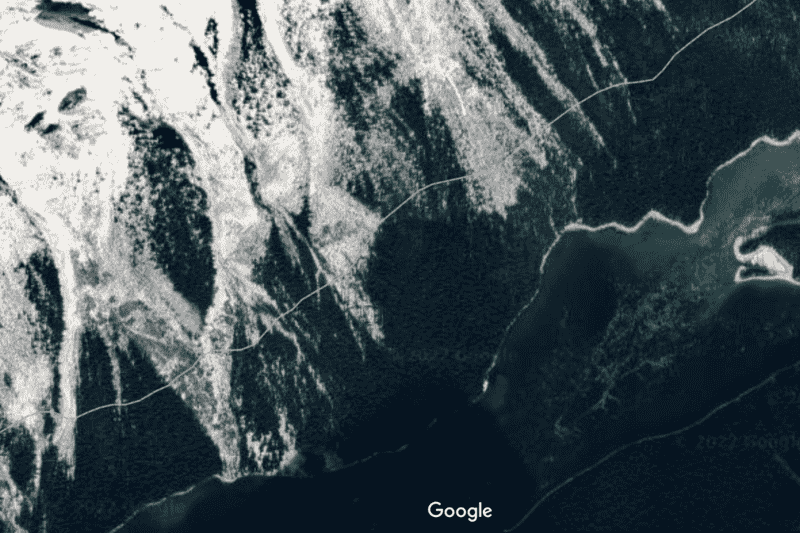
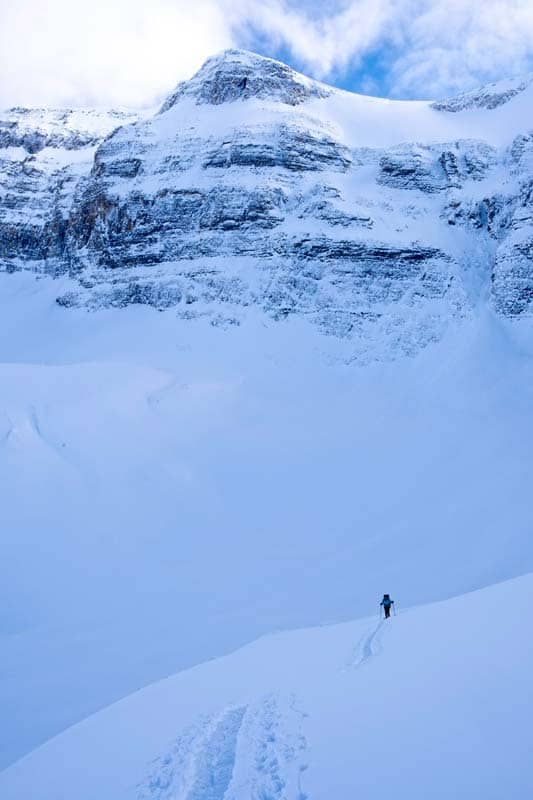
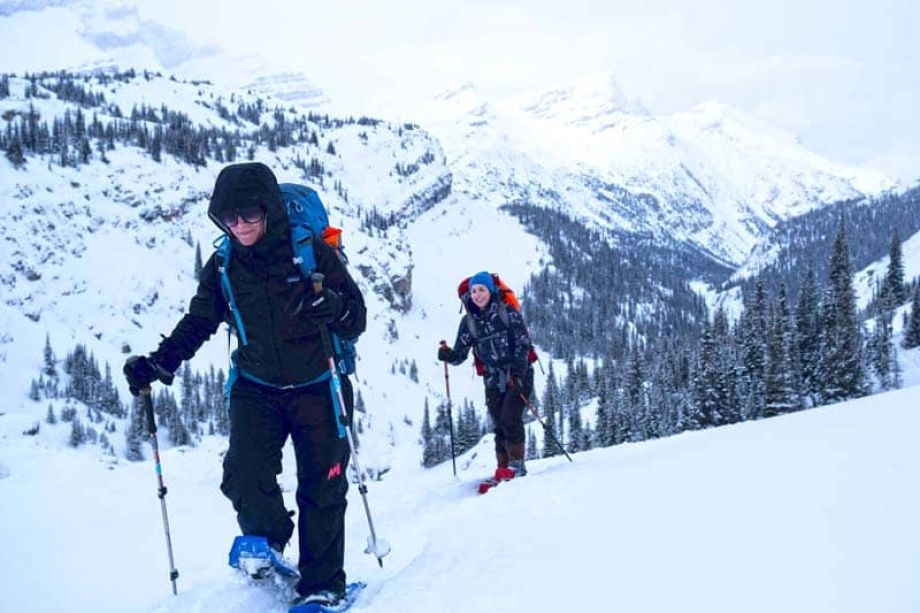
So you’ve planned a snowshoe route that accounts for tricky snow conditions and limited daylight hours. Great! Now it’s time to think about some winter-specific hazards. The first thing to think about are avalanches. Many trails cross avalanche paths. If you are unsure about whether your route crosses an avalanche path in the national parks, avalanche terrain ratings are available for many winter ski and snowshoe routes. Stick to simple (Class 1) terrain unless you have taken an avalanche skills course. We recommend an AST 1 course for anyone who plans to regularly spend time in the backcountry in the winter. This will help you learn to recognize dangerous terrain and conditions! Google Maps satellite view can also be a useful resource. Some programs allow you to highlight terrain that is over 20deg slope, the key angle for avalanche risk.
Another winter hazard is tree wells. As the snow builds up during the winter, lower layers start to compress under the weight of the snow above them. But the area protected by the lower branches of evergreen trees doesn’t receive as much snow! Instead, it fills up with unconsolidated snow and a lot of air. As the snowpack rises up to meet the lower branches, the tree well gets hidden. It’s surprisingly easy to get too close and fall in! You can be hurt by the fall itself, or you can end up stuck in the deep pit! A shovel is a key piece of safety equipment for this reason.
We love snowshoeing and winter hiking, and hopefully these tips will help you feel more confident to get out there and experience it for yourself! Still not sure and want some additional guidance, or just looking for an awesome group of folks to hike with? Check out our Snowshoe Series and join us on a winter adventure!
Other Posts of Interest
Related Courses
Fresh off the Press
Most Popular Stories
Tags
You Might Also Like...
Spread the Love - Share this article on your socials...